How to Merge Routes
Contents |
Merging Routes
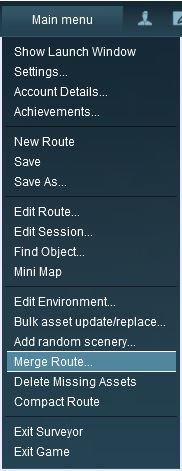
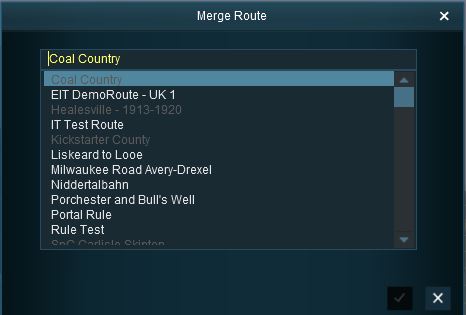
| The Surveyor Merge Routes command allows two different routes to be joined together - edge to edge. |
Before You Start Merging
| Make sure that you have backup copies of all the routes that you are going to merge. |
Before you start merging there are some important points you will need to consider and there may be some preparation work that will have to be performed.
Identify
- the route that will be the base route. This route will form the backbone of the combined routes. This will usually be the larger route or the route that contains Session data that you want to keep in the merge.
- the route that will be the merged route. This route will be joined to the base route.
- the orientation (North-South or East-West) of the routes to be merged. Are they the same or different?
- the baseboards in each route where they will be joined.
- the height of the baseboards in both route at the merge point. Are they exactly the same height?
Common Problems
| Most route mergers will have problems but most of those problems can be easily fixed. |
Some problems will require you to do a bit (or a lot) of extra work before you can merge two routes into one. But for some problems, the best solution may be to select other routes to merge.
Selecting and Loading the Routes to Merge
- Load the Base Route into Surveyor
- Should you load the Route or the Session?
- The answer depends on whether or not the Session contains assets (scenery, consists) and settings (rules, driver commands, industry and wagon loads, weather, time of day, etc) that you want to continue to use in the new merged Route and its Session. If the Session contains nothing that you need then load the Route only into Surveyor. Note that when you add the merged route its Route assets and data will be loaded but not its Session assets or data.
- Should you load the Route or the Session?
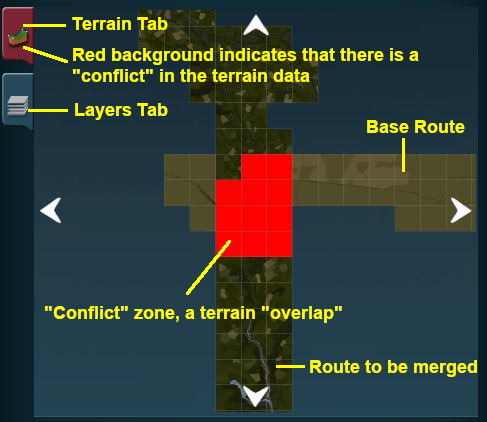
This will merge the two routes and display a "minimap" of the new combined routes with some control options.
The Merge Map
 |
|
Move the Merged Route into its New Position
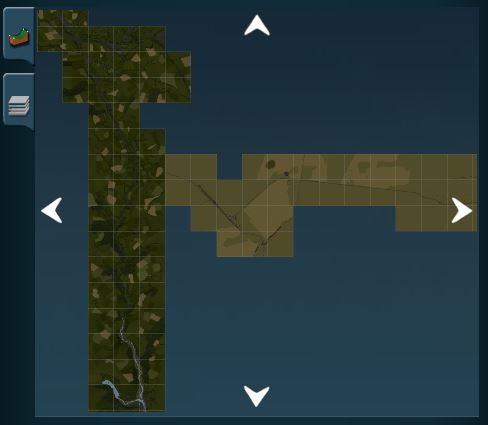 |
Click on the direction arrows shown at the top, bottom and sides of the MiniMap window to move the merged route into its correct position. Each click will move the merged route one baseboard in the selected direction.
In the example shown on the left, clicking the Left arrow 5 times moved the merged route 5 baseboards to the left to a position where there were no overlapping baseboards and all terrain conflicts were resolved.
|
The Layers Map
Click the Layers Tab to show the layers loaded from the two routes.
| A route merge will not proceed until ALL the terrain and layer conflicts have been eliminated. |
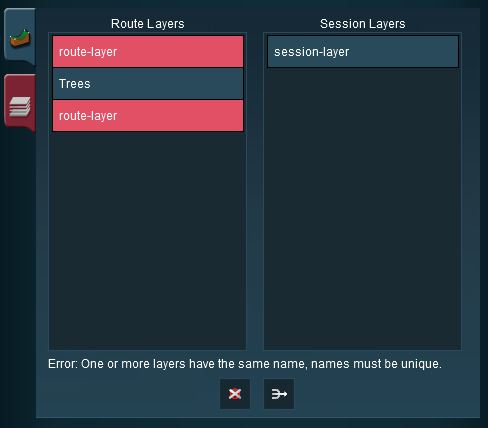 |
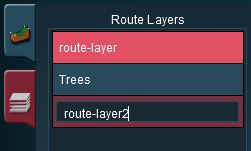
In the example shown on the left two of the layers, one from each route, are using the same name "route-layer". This causes a conflict that must be resolved before the merge can be completed.
There are three simple options for solving this problem:-
|
| Delete one of the conflicting layers. Select the layer and click on the Delete icon. |
Select the layer to be deleted and click the Delete Icon.
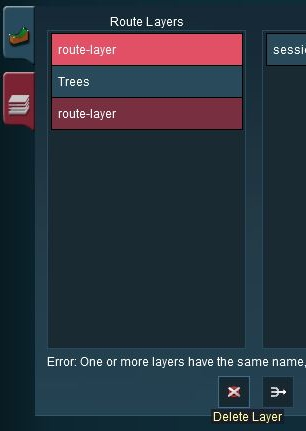 |
|
| Merge one of the conflicting layers. Select the layer and click on the Merge icon (next to the Delete Icon). |
Then select the layer it will be merged into and click the Tick Icon.
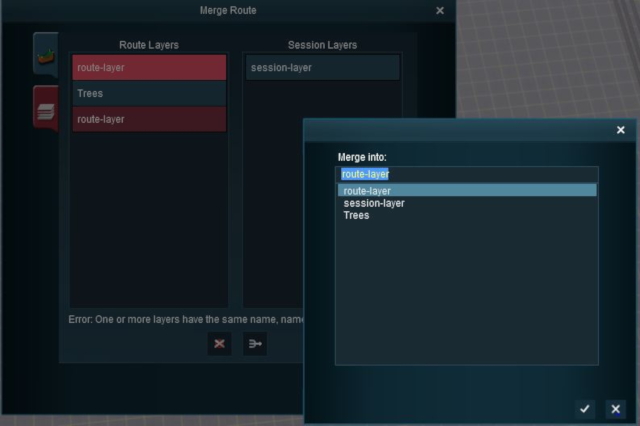 |
After merging ...
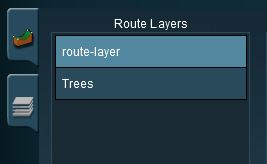 |
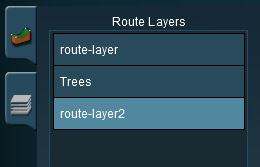
... the conflict has now been resolved.
Accept or Reject
Once all the conflicts have been resolved, the final step in the merging process can take place.
| ACCEPT: Click the Tick Icon to accept the merge. This icon will not be usable unless ALL conflicts have been resolved. | |
| REJECT: Click the Cross Icon to reject the merge. The 'merging will be cancelled, no routes will be lost or altered. |
Trainz Wiki
- How to Guides
- Session Rules List (Alphabetical) with Parameters
- Session Rules List (Categories) With Parameters
Route Creation Tutorials:
Session Creation Tutorials:
- Adding Message Popups
- Adding Message Popups - Applications
- Adding Navigation Points
- Adding Navigation Points - Applications
- Configuring the Driver Setup Rule
- Controlling Junctions in Sessions
- Controlling Signals in Sessions
- Creating a HTML Asset (Session Introduction Page and In Game Messages)
- List of Parent Rules
- Parent and Child Rules
- Using Track Triggers
- Using Variables in Sessions - Examples
