|
|
| Line 2,064: |
Line 2,064: |
| | <br> | | <br> |
| | | | |
| − | ===<span style="font-size: 17px; color: white; background-color: blue;"> Painting a Scrapbook - The Brush Actions </span>=== | + | ===<span style="font-size: 17px; color: white; background-color: blue;"> Creating and Pasting a Scrapbook </span>=== |
| − | | + | <br> |
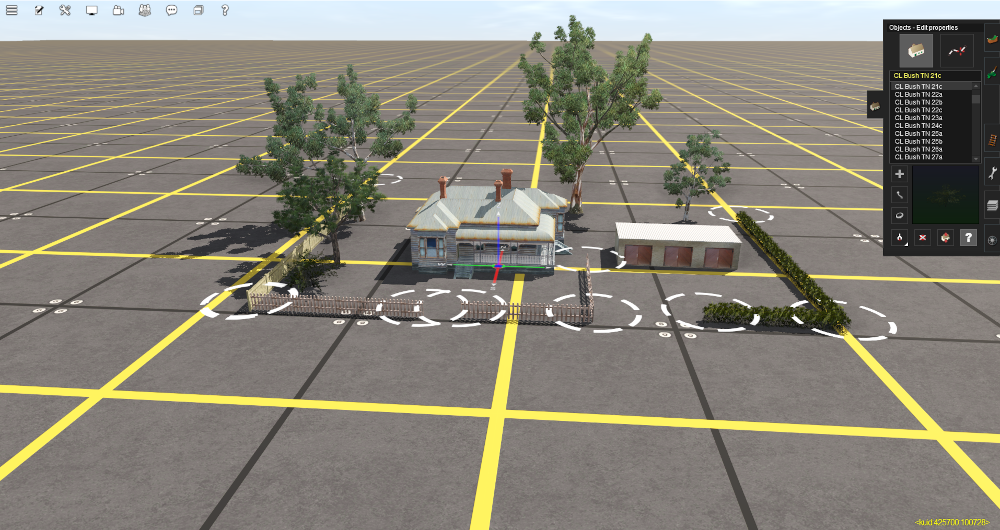
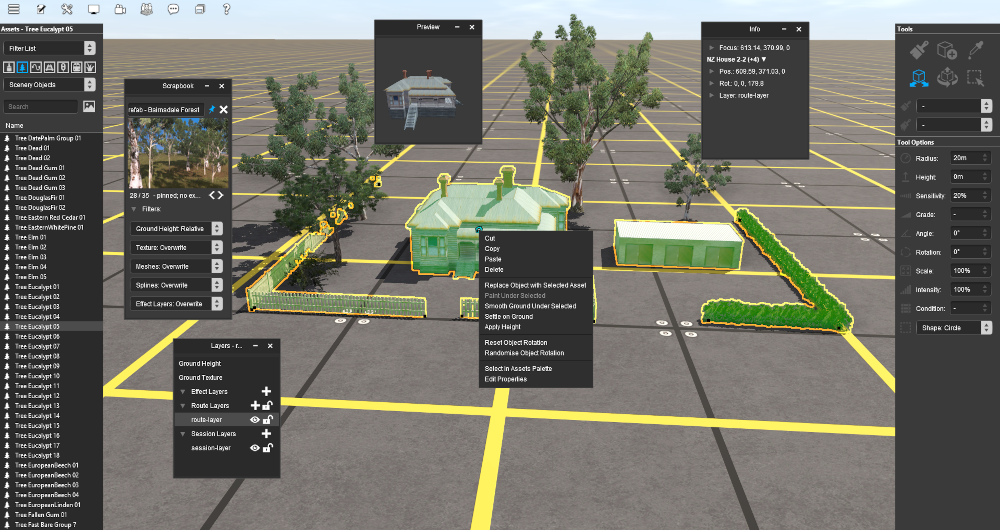
| | + | A new scrapbook can be created by choosing one of the following:- |
| | <table width=1000 bgcolor=#000000 cellpadding=2> | | <table width=1000 bgcolor=#000000 cellpadding=2> |
| | <tr valign="top"> | | <tr valign="top"> |
| | <td> | | <td> |
| − | <table width=996 bgcolor=#ffffff cellpadding=2> | + | <table bgcolor=#ffffff cellpadding=2> |
| | <tr valign="top"> | | <tr valign="top"> |
| − | <td width=125><span style="font-weight: 700; font-size: 15px; color: white; background-color: black;"> Brush Actions </span></td> | + | <td><span style="font-weight: 700; font-size: 15px;">Options:</span> |
| − | <td>When the <span style="font-weight: 700; font-size: 15px; color: white; background-color: black;"> Scrapbook Data </span> '''Target''' is selected, the second drop down box will give a choice of two brush actions that control how the scrapbook is applied.</td>
| + | |
| − | </tr>
| + | |
| − | </table>
| + | |
| − | </td>
| + | |
| − | </tr>
| + | |
| − | </table>
| + | |
| − | | + | |
| − | <table width=1000>
| + | |
| − | <tr valign="top">
| + | |
| − | <td colspan=2>The '''actions''' are:- </td>
| + | |
| − | </tr>
| + | |
| − | <tr valign="top">
| + | |
| − | <td width=200>
| + | |
| | <table> | | <table> |
| | <tr valign="top"> | | <tr valign="top"> |
| − | <td width=10>[[image:BulletTick.png|link=]]</td> | + | <td width=25>[[image:Ablue.png|link=]]</td> |
| − | <td>'''Scrapbook Brush'''</td> | + | <td>use the [[image:PageLink.PNG|link=]] '''[[#The_Marquee_Tool|Marquee Tool]]''' to select an area of the route containing objects, <span style="font-weight: 700; font-size: 15px;">OR</span></td> |
| | </tr> | | </tr> |
| | <tr valign="top"> | | <tr valign="top"> |
| − | <td>[[image:BulletTick.png|link=]]</td> | + | <td>[[image:Bblue.png|link=]]</td> |
| − | <td>'''Scrapbook Clone'''</td> | + | <td>use the [[image:PageLink.PNG|link=]] '''[[#The_Free_Move_Tool|Free Move Tool]]''' or the [[image:PageLink.PNG|link=]] '''[[#The_Fine_Adjustment_Tool|Fine Adjustment Tool]]''' to select a group of individual objects for the scrapbook</td> |
| | </tr> | | </tr> |
| − | </table>
| |
| − | </td>
| |
| − | <td width=200>[[image:BrushToolsScrapbookOptions_S20.png|link=]]</td>
| |
| − | <td width=600>
| |
| − | <table width=600 bgcolor=#000000 cellpadding=2>
| |
| | <tr valign="top"> | | <tr valign="top"> |
| − | <td> | + | <td colspan=2>In both cases once the area or objects have been selected use the '''Context Menu''' <span style="font-weight: 700; font-size: 15px; color: white; background-color: black;"> Cut </span> (or press <span style="font-weight: 700; font-size: 15px;"><span style="color: white; background-color: black;"> Ctrl </span> + <span style="color: white; background-color: black;"> X </span></span>) or <span style="font-weight: 700; font-size: 15px; color: white; background-color: black;"> Copy </span> (or press <span style="font-weight: 700; font-size: 15px;"><span style="color: white; background-color: black;"> Ctrl </span> + <span style="color: white; background-color: black;"> C </span></span>) options to place the objects into a new scrapbook. More detailed instructions on creating '''Scrapbooks''' can be found in the [[image:PageLink.PNG|link=]] '''[[#The_Marquee_Tool|Marquee Tool]]''' section of this document.</td> |
| − | <table width=596 bgcolor=#ffffff cellpadding=2>
| + | |
| − | <tr valign="top"> | + | |
| − | <td><span style="font-weight: 700; font-size: 17px;">Scrapbook Brush Actions:</span></td> | + | |
| − | </tr> | + | |
| − | <tr valign="top">
| + | |
| − | <td><span style="font-weight: 700; font-size: 15px; color: white; background-color: black;"> Scrapbook Brush </span> will '''resize''' the scrapbook contents to fit the selected brush shape and size<br> | + | |
| − | <span style="font-weight: 700; font-size: 15px; color: white; background-color: black;"> Scrapbook Clone </span> will paint the scrapbook sized according to the '''Tool Options Palette''' <span style="font-weight: 700; font-size: 15px; color: gold; background-color: black;"> Scale </span> setting. See '''Notes''' below | + | |
| − | </td> | + | |
| | </tr> | | </tr> |
| | </table> | | </table> |
| Line 2,118: |
Line 2,093: |
| | </table> | | </table> |
| | <br> | | <br> |
| − | <table width=1000 bgcolor=#000000> | + | <table width=1000> |
| | <tr valign="top"> | | <tr valign="top"> |
| | <td> | | <td> |
| − | <table width=996 bgcolor=#ffffb0> | + | <table width=500 bgcolor=#000000 cellpadding=2> |
| | + | <tr valign="top"> |
| | + | <td> |
| | + | <table width=496 bgcolor=#ffffb0 cellpadding=2> |
| | <tr valign="top"> | | <tr valign="top"> |
| | <td width=25>[[image:NotePad.PNG|link=]]</td> | | <td width=25>[[image:NotePad.PNG|link=]]</td> |
| | <td><span style="font-size: 17px; font-weight: 700;">Notes:</span><br> | | <td><span style="font-size: 17px; font-weight: 700;">Notes:</span><br> |
| − | ---- | + | ----</td> |
| − | </td> | + | |
| | </tr> | | </tr> |
| − | <tr valign="top"> | + | <tr> |
| − | <td colspan=2><span style="font-size: 15px; font-weight: 700; color: white; background-color: black;"> Scrapbook Brush </span> will '''resize''' the scrapbook contents to fit the selected brush shape and size. | + | <td colspan=2>'''Scrapbooks''', when created, will contain:-</td> |
| − | <table>
| + | |
| − | <tr valign="top">
| + | |
| − | <td width=10>[[image:DotPoint.JPG|10px|link=]]</td>
| + | |
| − | <td>If the brush is small then the scrapbook contents will be compressed closer together</td>
| + | |
| | </tr> | | </tr> |
| | <tr valign="top"> | | <tr valign="top"> |
| | <td>[[image:DotPoint.JPG|10px|link=]]</td> | | <td>[[image:DotPoint.JPG|10px|link=]]</td> |
| − | <td>If the brush is large then the contents will be spaced further apart</td> | + | <td>'''Ground Heights'''</td> |
| | </tr> | | </tr> |
| | <tr valign="top"> | | <tr valign="top"> |
| | <td>[[image:DotPoint.JPG|10px|link=]]</td> | | <td>[[image:DotPoint.JPG|10px|link=]]</td> |
| − | <td>Every <span style="font-weight: 700; font-size: 15px; background-color: lightcyan;"> Left Click </span> will paste another complete scrapbook copy</td> | + | <td>'''Ground Textures'''</td> |
| | </tr> | | </tr> |
| | <tr valign="top"> | | <tr valign="top"> |
| | <td>[[image:DotPoint.JPG|10px|link=]]</td> | | <td>[[image:DotPoint.JPG|10px|link=]]</td> |
| − | <td>The <span style="font-weight: 700; font-size: 15px; color: gold; background-color: black;"> Scale </span> setting in the '''Tool Options Palette''' is ignored.</td> | + | <td>'''TurfFX/Clutter Effect Layers''' - if present</td> |
| − | </tr>
| + | |
| − | </table>
| + | |
| − | </td>
| + | |
| − | </tr>
| + | |
| − | <tr valign="top">
| + | |
| − | <td colspan=2><span style="font-size: 15px; font-weight: 700; color: white; background-color: black;"> Scrapbook Clone </span> will paste the scrapbook sized according to the <span style="font-weight: 700; font-size: 15px; color: gold; background-color: black;"> Scale </span> setting ('''100%''' = original size)
| + | |
| − | <table>
| + | |
| − | <tr valign="top">
| + | |
| − | <td width=10>[[image:DotPoint.JPG|10px|link=]]</td>
| + | |
| − | <td>If the brush is the same size as the scaled scrapbook then a single exact copy will be pasted</td>
| + | |
| | </tr> | | </tr> |
| | <tr valign="top"> | | <tr valign="top"> |
| | <td>[[image:DotPoint.JPG|10px|link=]]</td> | | <td>[[image:DotPoint.JPG|10px|link=]]</td> |
| − | <td>If the brush is smaller than the scaled scrapbook in size then only the central part of the scrapbook will be revealed and more will be added when the brush is moved around until the "painted" area covers the same area as the scaled scrapbook. Further painting will clone or tile the scrapbook contents</td> | + | <td>'''Selected Objects''' - scenery items, splines, track, signals, etc</td> |
| | </tr> | | </tr> |
| | <tr valign="top"> | | <tr valign="top"> |
| | <td>[[image:DotPoint.JPG|10px|link=]]</td> | | <td>[[image:DotPoint.JPG|10px|link=]]</td> |
| − | <td>If the brush is larger than the scaled scrapbook in size then the contents will be cloned or tiled to fill the set brush radius</td> | + | <td><span style="font-weight: 700; font-size: 15px;">But <span style="background-color: yellow;"> <span style="text-decoration: underline;">NOT</span> Rolling Stock (Trains) </span></span></td> |
| | </tr> | | </tr> |
| | <tr valign="top"> | | <tr valign="top"> |
| − | <td> </td> | + | <td colspan=2>Ground heights, ground textures and '''TurfFX/Clutter Effect Layers''' are always included in a scrapbook but you can control which visible objects are added by manually selecting them</td> |
| − | <td>
| + | |
| − | <table bgcolor=#fcbcbc cellpadding=2>
| + | |
| − | <tr valign="top">
| + | |
| − | <td>[[image:Stop.PNG|link=]]</td>
| + | |
| − | <td><span style="font-size: 15px; font-weight: 700;">WARNING:</span><br>
| + | |
| − | Take care if setting both the <span style="font-weight: 700; font-size: 15px; color: gold; background-color: black;"> Scale </span> and the <span style="font-weight: 700; font-size: 15px; color: gold; background-color: black;"> Radius </span>. Using extreme values for both, such as a very large brush radius and a very small scale value, can cause performance issues (i.e. long delays) while the program attempts to scale and clone the scrapbook contents
| + | |
| − | </td> | + | |
| | </tr> | | </tr> |
| | </table> | | </table> |
| Line 2,180: |
Line 2,136: |
| | </table> | | </table> |
| | </td> | | </td> |
| − | </tr> | + | <td> |
| − | </table>
| + | <table width=500 bgcolor=#000000 cellpadding=2> |
| − | </td>
| + | |
| − | </tr>
| + | |
| − | </table>
| + | |
| − | <br>
| + | |
| − | <table width=1000 bgcolor=#000000 cellpadding=2> | + | |
| | <tr valign="top"> | | <tr valign="top"> |
| | <td> | | <td> |
| − | <table bgcolor=#ffffb0 cellpadding=2> | + | <table width=496 bgcolor=#ffffb0 cellpadding=2> |
| | <tr valign="top"> | | <tr valign="top"> |
| | <td width=25>[[image:NotePad.PNG|link=]]</td> | | <td width=25>[[image:NotePad.PNG|link=]]</td> |
| − | <td width=970><span style="font-size: 17px; font-weight: 700;">Notes: Tool Options Palette Controls</span><br> | + | <td><span style="font-size: 17px; font-weight: 700;">Notes:</span><br> |
| | ----</td> | | ----</td> |
| | </tr> | | </tr> |
| − | <tr valign="top"> | + | <tr> |
| − | <td width=10>[[image:DotPoint.JPG|10px|link=]]</td> | + | <td colspan=2> |
| − | <td>The active scrapbook brush options for each action are shown in the '''Tool Options Palette''' with a <span style="font-size: 15px; font-weight: 700; color: gold; background-color: black;"> Gold </span> coloured icon next to their names. Those options that have their icon greyed out will be ignored by the selected action, but they can still be edited.</td>
| + | '''Scrapbooks''', when painted or pasted, can contain any combinations of:-</td> |
| | </tr> | | </tr> |
| | <tr valign="top"> | | <tr valign="top"> |
| | <td width=10>[[image:DotPoint.JPG|10px|link=]]</td> | | <td width=10>[[image:DotPoint.JPG|10px|link=]]</td> |
| − | <td>Most of the data entry boxes in the '''Tool Options Palette''' have a '''Popup Menu''' (<span style="font-weight: 700; font-size: 15px; background-color: lightcyan;">Right Click</span> inside the box) that can be used to collect and distribute data - see the Wiki Page [[image:WikiLink.PNG|link=]] '''[[How to Use S20 Palettes#Tool Options Popups|How to Use the Surveyor 2.0 Palettes]]''' for more details.</td> | + | <td>'''Ground Heights'''</td> |
| | </tr> | | </tr> |
| − | </table>
| |
| − | </td>
| |
| − | </tr>
| |
| − | </table>
| |
| − | <br>
| |
| − | <table width=1000>
| |
| | <tr valign="top"> | | <tr valign="top"> |
| − | <td> | + | <td>[[image:DotPoint.JPG|10px|link=]]</td> |
| − | <table>
| + | <td>'''Ground Textures'''</td> |
| − | <tr valign="top" align="center">
| + | |
| − | <td width=210><span style="font-size: 15px; font-weight: 700; color: white; background-color: black;"> Scrapbook Brush </span><br>[[image:BrushToolsScrapBrush_S20.png|link=|alt=Brush options]]</td>
| + | |
| − | <td width=210><span style="font-size: 15px; font-weight: 700; color: white; background-color: black;"> Scrapbook Clone </span><br>[[image:BrushToolsScrapClone_S20.png|link=|alt=Clone options]]</td> | + | |
| | </tr> | | </tr> |
| | <tr valign="top"> | | <tr valign="top"> |
| − | <td colspan=2> | + | <td>[[image:DotPoint.JPG|10px|link=]]</td> |
| − | <table width=420 bgcolor=#000000 cellpadding=2>
| + | <td>'''TurfFX/Clutter Effect Layers'''</td> |
| − | <tr valign="top">
| + | |
| − | <td colspan=2>
| + | |
| − | <table width=416 bgcolor=#ffffe0 cellpadding=2>
| + | |
| − | <tr valign="top" align="left">
| + | |
| − | <td width=25>[[image:PencilTips.PNG|link=]]</td>
| + | |
| − | <td>On the right of each data entry box is a pair of '''Up/Down''' arrow controls. <span style="font-weight: 700; font-size: 15px; background-color: lightcyan;">Left Click and Drag</span> up or down on these to adjust the value in smaller increments</td>
| + | |
| − | </tr>
| + | |
| − | </table>
| + | |
| − | </td>
| + | |
| − | </tr>
| + | |
| − | </table>
| + | |
| − | </td>
| + | |
| − | </tr>
| + | |
| − | </table>
| + | |
| − | </td>
| + | |
| − | <td width=580>
| + | |
| − | <br>
| + | |
| − | <table bgcolor=#000000 width=580 cellpadding=2>
| + | |
| − | <tr valign="top">
| + | |
| − | <td>
| + | |
| − | <table bgcolor=#ffffff width=576 align="left">
| + | |
| − | <tr valign="top">
| + | |
| − | <td width=90><span style="font-size: 15px; font-weight: 700; color: gold; background-color: black;"> Radius </span></td>
| + | |
| − | <td width=486>the brush radius (metres) - see '''Notes:''' below</td>
| + | |
| − | </tr>
| + | |
| − | <tr valign="top">
| + | |
| − | <td colspan=2>
| + | |
| − | <table bgcolor=#ffffb0>
| + | |
| − | <tr valign="top">
| + | |
| − | <td width=90 align="right">'''Range:''' </td>
| + | |
| − | <td width=486>'''5m''' and above for '''5m''' and '''10m''' grid resolutions<br>
| + | |
| − | '''0.125m''' and above for '''HD Terrain''' (available in '''Trainz Plus''' only)</td>
| + | |
| − | </tr>
| + | |
| − | </table>
| + | |
| − | </td>
| + | |
| − | </tr>
| + | |
| − | <tr valign="top">
| + | |
| − | <td width=90><span style="font-size: 15px; font-weight: 700; color: gold; background-color: black;"> Sensitivity </span></td>
| + | |
| − | <td width=486>if the <span style="font-weight: 700; font-size: 15px; color: white; background-color: black;"> Ground Height </span> option has been enabled in the '''Scrapbook Palette''' filter settings, then this will set the rate or speed at which the ground height will change</td>
| + | |
| − | </tr>
| + | |
| − | <tr valign="top">
| + | |
| − | <td colspan=2>
| + | |
| − | <table bgcolor=#ffffb0>
| + | |
| − | <tr valign="top">
| + | |
| − | <td width=90 align="right">'''Range:''' </td>
| + | |
| − | <td width=486>'''1%''' = slowest<br>
| + | |
| − | '''100%''' = fastest</td>
| + | |
| − | </tr>
| + | |
| − | </table>
| + | |
| − | </td>
| + | |
| − | </tr>
| + | |
| − | <tr valign="top">
| + | |
| − | <td><span style="font-size: 15px; font-weight: 700; color: gold; background-color: black;"> Rotation </span></td>
| + | |
| − | <td>initial rotation angle (degrees) - see '''Notes:''' below</td>
| + | |
| − | </tr>
| + | |
| − | <tr valign="top">
| + | |
| − | <td colspan=2>
| + | |
| − | <table bgcolor=#ffffb0>
| + | |
| − | <tr valign="top">
| + | |
| − | <td width=90 align="right">'''Range:''' </td>
| + | |
| − | <td width=486>'''0°''' to '''±359°''' (larger angles can be entered)</td>
| + | |
| − | </tr>
| + | |
| − | </table>
| + | |
| − | </td>
| + | |
| − | </tr>
| + | |
| − | <tr valign="top">
| + | |
| − | <td><span style="font-size: 15px; font-weight: 700; color: gold; background-color: black;"> Scale </span></td>
| + | |
| − | <td>the scrapbook scaling factor ('''Scrapbook Clone''' brush action only) - see '''Notes:''' below</td>
| + | |
| − | </tr>
| + | |
| − | <tr valign="top">
| + | |
| − | <td colspan=2>
| + | |
| − | <table bgcolor=#ffffb0>
| + | |
| − | <tr valign="top">
| + | |
| − | <td width=90 align="right">'''Range:''' </td>
| + | |
| − | <td width=486>'''0.01%''' = smallest<br>
| + | |
| − | '''100%''' = full size<br>
| + | |
| − | '''>100%''' larger than full size</td>
| + | |
| − | </tr>
| + | |
| − | </table>
| + | |
| − | </td>
| + | |
| − | </tr>
| + | |
| − | <tr valign="top">
| + | |
| − | <td><span style="font-size: 15px; font-weight: 700; color: gold; background-color: black;"> Shape </span></td>
| + | |
| − | <td>brush shape</td>
| + | |
| − | </tr>
| + | |
| − | <tr valign="top">
| + | |
| − | <td colspan=2>
| + | |
| − | <table bgcolor=#ffffb0>
| + | |
| − | <tr valign="top">
| + | |
| − | <td width=90 align="right">'''Options:''' </td>
| + | |
| − | <td width=145>[[image:BrushToolsScrapShapes_S20.png|link=]]</td>
| + | |
| − | <td><span style="font-weight: 700; font-size: 15px; color: white; background-color: black;"> Circle </span> and <span style="font-weight: 700; font-size: 15px; color: white; background-color: black;"> Square </span> will set the brush to the selected shape with the <span style="font-size: 15px; font-weight: 700; color: gold; background-color: black;"> Radius </span> setting the brush size</td>
| + | |
| − | </tr>
| + | |
| − | <tr valign="top">
| + | |
| − | <td> </td>
| + | |
| − | <td colspan=2><span style="font-weight: 700; font-size: 15px; color: white; background-color: black;"> Natural </span> will set the brush to the same shape as the '''Marquee''' that created the scrapbook, which may be rectangular. The <span style="font-size: 15px; font-weight: 700; color: gold; background-color: black;"> Radius </span> setting will scale the brush size</td>
| + | |
| − | </tr>
| + | |
| − | </table>
| + | |
| − | </td>
| + | |
| − | </tr>
| + | |
| − | <tr valign="top">
| + | |
| − | <td colspan=2>
| + | |
| − | <table bgcolor=#ffffb0 cellpadding=2>
| + | |
| − | <tr valign="top">
| + | |
| − | <td width=25>[[image:NotePad.PNG|link=]]</td>
| + | |
| − | <td align="left">The <span style="font-weight: 700; font-size: 15px; color: gold; background-color: black;"> Height </span> setting has no effect on the '''Scrapbook'''. This feature is controlled by the '''Scrapbook Palette Filter''' <span style="font-weight: 700; font-size: 15px; color: white; background-color: black;"> Ground Height </span> options.</td>
| + | |
| − | </tr>
| + | |
| − | </table>
| + | |
| − | </td>
| + | |
| − | </tr>
| + | |
| − | </table>
| + | |
| − | </td>
| + | |
| − | </tr>
| + | |
| − | </table>
| + | |
| − | </td>
| + | |
| − | </tr>
| + | |
| − | </table>
| + | |
| − | <br>
| + | |
| − | <span style="font-weight: 700; font-size: 15px;">Painting with the Scrapbook Brush</span>
| + | |
| − | <table width=1000>
| + | |
| − | <tr valign="top">
| + | |
| − | <td width=495>
| + | |
| − | <table bgcolor=#000000 width=495 cellpadding=2>
| + | |
| − | <tr valign="top">
| + | |
| − | <td>
| + | |
| − | <table bgcolor=#ffffb0 width=491 cellpadding=2>
| + | |
| − | <tr valign="top">
| + | |
| − | <td>
| + | |
| − | <table width=491>
| + | |
| − | <tr valign="top">
| + | |
| − | <td width=25>[[image:NotePad.PNG|link=]]</td>
| + | |
| − | <td><span style="font-size: 17px; font-weight: 700;">Notes:</span><br>
| + | |
| − | ----
| + | |
| − | </td>
| + | |
| − | </tr>
| + | |
| − | </table>
| + | |
| − | <table width=491>
| + | |
| − | <tr valign="top">
| + | |
| − | <td width=10>[[image:DotPoint.JPG|10px|link=]]</td>
| + | |
| − | <td>Unlike '''Surveyor Classic''', there is no upper limit to the brush <span style="font-size: 15px; font-weight: 700; color: gold; background-color: black;"> Radius </span>. Brushes of hundreds of metres (even kilometres) in size are possible. However, the performance will '''decrease''' as the brush radius '''increases'''.</td> | + | |
| | </tr> | | </tr> |
| | <tr valign="top"> | | <tr valign="top"> |
| | <td>[[image:DotPoint.JPG|10px|link=]]</td> | | <td>[[image:DotPoint.JPG|10px|link=]]</td> |
| − | <td>The <span style="font-size: 15px; font-weight: 700; color: gold; background-color: black;"> Rotation </span> controls the starting angle for pasting the scrapbook objects. In '''Surveyor Classic''' you could only rotate and paste in 90° increments. In '''S20''' you can rotate and paste at any angle.</td> | + | <td>'''Scenery Objects (Meshes)''' - individual buildings, trees, signals, etc</td> |
| | </tr> | | </tr> |
| | <tr valign="top"> | | <tr valign="top"> |
| | <td>[[image:DotPoint.JPG|10px|link=]]</td> | | <td>[[image:DotPoint.JPG|10px|link=]]</td> |
| − | <td>The <span style="font-weight: 700; font-size: 15px; color: white; background-color: black;"> Ground Height </span> options in the '''Scrapbook Filters''' control how the terrain heights in the '''Scrapbook''' are applied</td> | + | <td>'''Scenery Splines''' - roads, track, fences, etc</td> |
| | </tr> | | </tr> |
| | <tr valign="top"> | | <tr valign="top"> |
| − | <td>[[image:DotPoint.JPG|10px|link=]]</td> | + | <td colspan=2>You have options in [[image:PageLink.PNG|link=]] '''[[#Filters|The Scrapbook Filters]]''' that will control which of these data categories are painted/pasted and how they are painted/pasted from the scrapbook into a route.</td> |
| − | <td>Setting extreme values for the <span style="font-weight: 700; font-size: 15px; color: gold; background-color: black;"> Scale </span> and the <span style="font-weight: 700; font-size: 15px; color: gold; background-color: black;"> Radius </span> when using the <span style="font-weight: 700; font-size: 15px; color: white; background-color: black;"> Scrapbook Data Clone Brush </span> can cause performance issues (i.e. long delays) while the program attempts to scale and clone the scrapbook contents into the route</td>
| + | |
| | </tr> | | </tr> |
| | </table> | | </table> |
| Line 2,379: |
Line 2,180: |
| | </tr> | | </tr> |
| | </table> | | </table> |
| − | </td> | + | <br> |
| − | <td width=10> </td> | + | To paste a scrapbook into your Trainz World:-<br> |
| − | <td width=495> | + | <table width=1000 bgcolor=#000000 cellpadding=2> |
| − | <table bgcolor=#000000 width=495 cellpadding=2>
| + | |
| | <tr valign="top"> | | <tr valign="top"> |
| | <td> | | <td> |
| − | <table bgcolor=#ffffff width=491 cellpadding=2> | + | <table width=996 bgcolor=#ffffff cellpadding=2> |
| | <tr valign="top"> | | <tr valign="top"> |
| − | <td colspan=2><span style="font-weight: 700; font-size: 15px;;">Steps:</span> To "paint" with a '''Scrapbook''' asset:-</td> | + | <td colspan=2><span style="font-weight: 700; font-size: 17px;">Steps:</span> To Paste a Scrapbook:-</td> |
| | </tr> | | </tr> |
| | <tr valign="top"> | | <tr valign="top"> |
| − | <td width=20>[[image:DotPoint1.JPG|link=]]</td> | + | <td width=25>[[image:DotPoint1.JPG|link=]]</td> |
| − | <td>select the '''Brush Tool''' from the '''Tools Palette''' (or press the <span style="font-weight: 700; font-size: 15px; color: white; background-color: black;"> W </span> key)</td> | + | <td>Move the '''Compass Rose''' to the position where the scrapbook will be placed</td> |
| | </tr> | | </tr> |
| | <tr valign="top"> | | <tr valign="top"> |
| | <td>[[image:DotPoint2.JPG|link=]]</td> | | <td>[[image:DotPoint2.JPG|link=]]</td> |
| − | <td>select the <span style="font-weight: 700; font-size: 15px; color: white; background-color: black;"> Scrapbook Data </span> target from the '''Brush Tool''' first drop down menu</td> | + | <td>Select the required Scrapbook from the [[image:PageLink.PNG|link=]] '''[[#Scrapbook Palette|The Scrapbook Palette]]'''. Its image will be shown in the palette thumbnail</td> |
| | </tr> | | </tr> |
| | <tr valign="top"> | | <tr valign="top"> |
| | <td>[[image:DotPoint3.JPG|link=]]</td> | | <td>[[image:DotPoint3.JPG|link=]]</td> |
| − | <td>select a brush action (<span style="font-weight: 700; font-size: 15px; color: white; background-color: black;"> Scrapbook Brush </span> or <span style="font-weight: 700; font-size: 15px; color: white; background-color: black;"> Scrapbook Clone </span>) from the '''Brush Tool''' second drop down menu</td> | + | <td>Set the [[image:PageLink.PNG|link=]] '''[[#Filters|The Scrapbook Filters]]''' to include/exclude any objects or features</td> |
| | </tr> | | </tr> |
| | <tr valign="top"> | | <tr valign="top"> |
| | <td>[[image:DotPoint4.JPG|link=]]</td> | | <td>[[image:DotPoint4.JPG|link=]]</td> |
| − | <td>select a '''Scrapbook''' asset to be painted (see [[image:PageLink.PNG|link=]] '''[[#Scrapbook Palette|The Scrapbook Palette]]''' below)</td> | + | <td>Press the keys <span style="font-weight: 700; font-size: 15px;"><span style="color: white; background-color: black;"> Ctrl </span> + <span style="color: white; background-color: black;"> V </span></span>. You can also select an object, open its '''Context Menu''' and select the <span style="font-weight: 700; font-size: 15px; color: white; background-color: black;"> Paste </span> option - the scrapbook will '''NOT''' replace the selected object</td> |
| | </tr> | | </tr> |
| | <tr valign="top"> | | <tr valign="top"> |
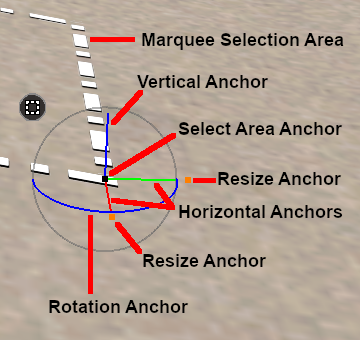
| − | <td>[[image:DotPoint5.JPG|link=]]</td> | + | <td colspan=2>The scapbook will be pasted inside a '''Marquee Selection Area''' which can be moved and/or resized. See the [[image:PageLink.PNG|link=]] '''[[#The_Marquee_Tool|Marquee Tool]]''' below for more details. To clear the '''Marquee Selection Area''' simply <span style="font-weight: 700; font-size: 15px; background-color: lightcyan;"> Left Click </span> anywhere outside the area.</td> |
| − | <td>open the '''Scrapbook Filter''' in the '''Scrapbook Palette''' and select the features to be painted and the method used (see [[image:PageLink.PNG|link=]] '''[[#Filters|Scrapbook Filters]]''' below)</td>
| + | |
| − | </tr>
| + | |
| − | <tr valign="top">
| + | |
| − | <td>[[image:DotPoint6.JPG|link=]]</td>
| + | |
| − | <td>set any '''Brush''' controls (e.g. <span style="font-weight: 700; font-size: 15px; color: gold; background-color: black;"> Radius </span>) from the '''Tool Options Palette'''</td>
| + | |
| − | </tr>
| + | |
| − | <tr valign="top">
| + | |
| − | <td>[[image:DotPoint7.JPG|link=]]</td>
| + | |
| − | <td><span style="font-weight: 700; font-size: 15px; background-color: lightcyan;"> Left Click </span> or <span style="font-weight: 700; font-size: 15px; background-color: lightcyan;">Left Click and Drag</span> (depending on your brush settings) on the terrain to paint with the scrapbook asset</td>
| + | |
| − | </tr>
| + | |
| − | </table>
| + | |
| − | </td> | + | |
| | </tr> | | </tr> |
| | </table> | | </table> |
| Line 2,425: |
Line 2,213: |
| | </table> | | </table> |
| | <br> | | <br> |
| − | <table width=1000 bgcolor=#000000 cellpadding=2>
| + | |
| − | <tr valign="top">
| + | |
| − | <td>
| + | |
| − | <table width=996 bgcolor=#ffffe0 cellpadding=2>
| + | |
| − | <tr valign="top">
| + | |
| − | <td>[[image:PencilTips.PNG|link=]]</td>
| + | |
| − | <td>If you have set the <span style="font-weight: 700; font-size: 15px; color: white; background-color: black;"> Ground Height </span> '''Scrapbook Filter Option''' to '''Add''' or '''Overwrite''' (see [[image:PageLink.PNG|link=]] '''[[#Filters|Scrapbook Filters]]''' below) then the rate or speed at which the ground height changes will be controlled by the '''Tool Options Palette''' <span style="font-weight: 700; font-size: 15px; color: gold; background-color: black;"> Sensitivity </span> setting. Set its value to:-<br>
| + | |
| − | <table>
| + | |
| − | <tr valign="top">
| + | |
| − | <td width=10>[[image:DotPoint.JPG|10px|link=]]</td>
| + | |
| − | <td>'''1%''' for the smallest possible change with each sweep of the brush</td>
| + | |
| − | </tr>
| + | |
| − | <tr valign="top">
| + | |
| − | <td>[[image:DotPoint.JPG|10px|link=]]</td>
| + | |
| − | <td>'''100%''' for the largest possible change with each sweep of the brush</td>
| + | |
| − | </tr>
| + | |
| − | <tr valign="top">
| + | |
| − | <td colspan=2>Values between these two limits will give intermediate changes with each sweep of the brush over the same area</td>
| + | |
| − | </tr>
| + | |
| − | </table>
| + | |
| − | </td>
| + | |
| − | </tr>
| + | |
| − | </table>
| + | |
| − | </td>
| + | |
| − | </tr>
| + | |
| − | </table>
| + | |
| − | <br>
| + | |
| − | <span id="Scrapbook Palette"></span>
| + | |
| | ===<span style="font-size: 17px; color: white; background-color: blue;"> The Scrapbook Palette </span>=== | | ===<span style="font-size: 17px; color: white; background-color: blue;"> The Scrapbook Palette </span>=== |
| | | | |
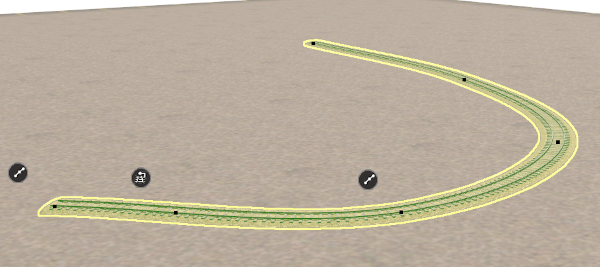
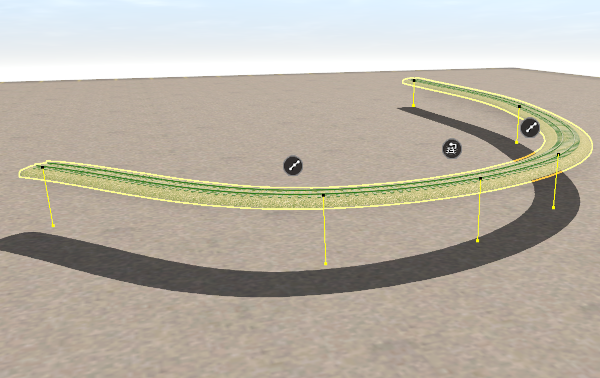
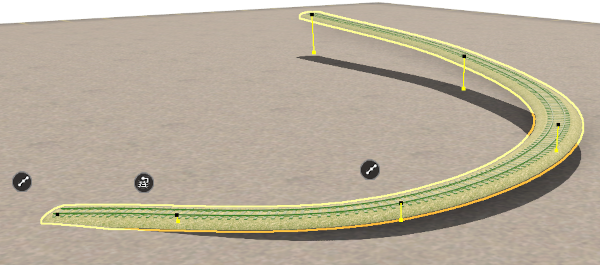
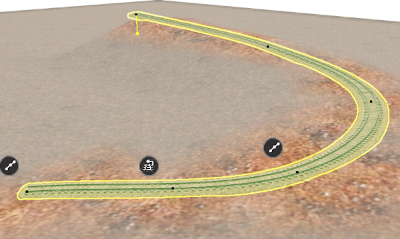
When you start adding a spline to a route it will always be placed at the height of the terrain regardless of the Tool Options Palette Height setting.
However, you can set the height of any selected segment or endpoint.
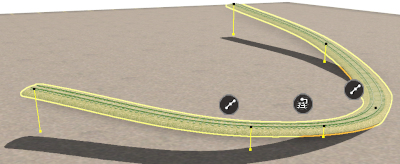
Setting a Spline Objects Height
Track objects that have been moved away from or closer to the track will still function normally.
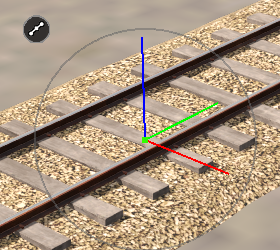
A selected track mesh object, or a group of selected track mesh objects, will have a Context Icon that opens a Context Menu. The icon design will vary between object types.
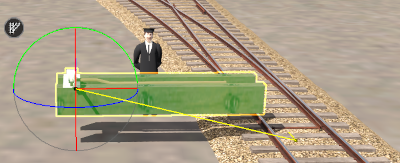
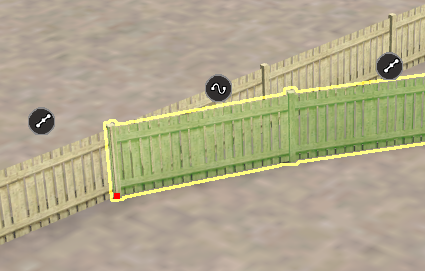
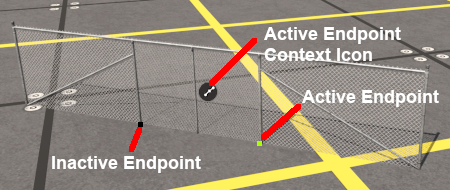
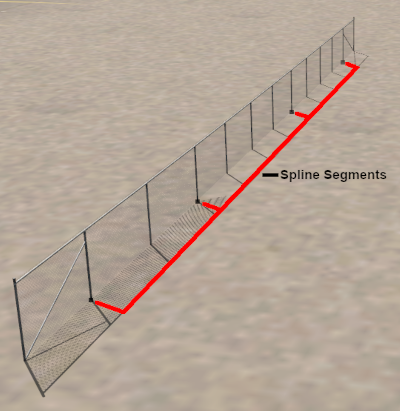
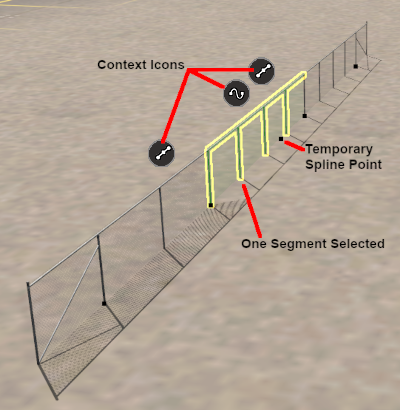
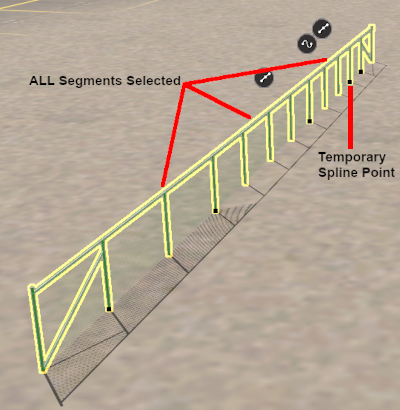
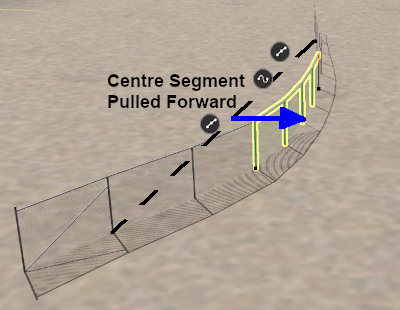
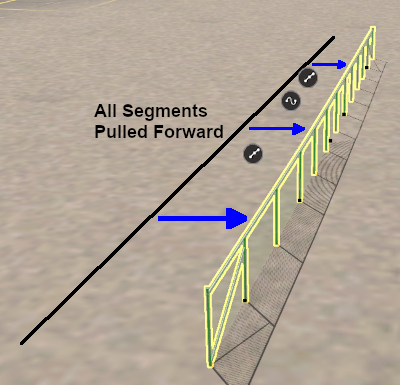
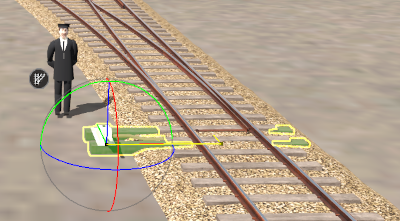
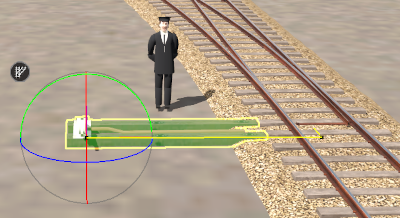
Splines are frequently made of multiple segments joined together. You can easily move a spline by moving its segments, individually or as a group.
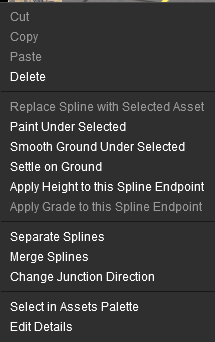
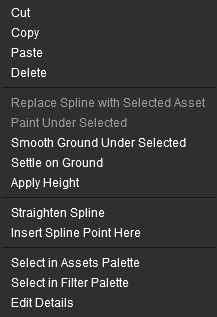
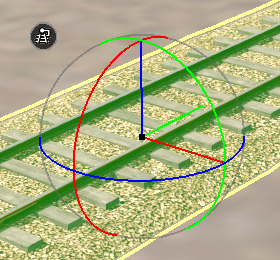
A selected scenery spline object, or a group of selected scenery spline objects, will have a Context Icon that opens a Context Menu. The icon design will vary between object types.
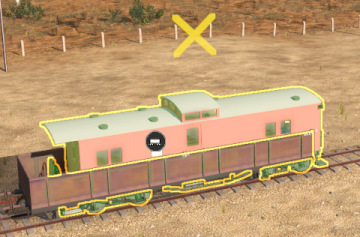
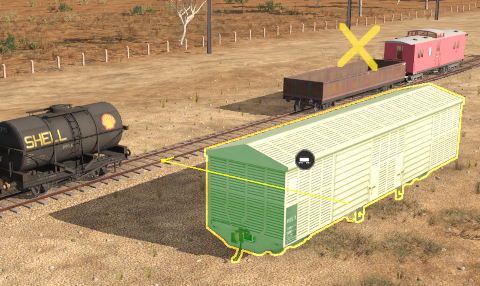
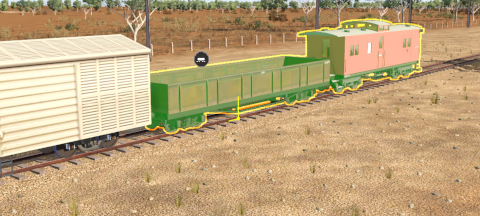
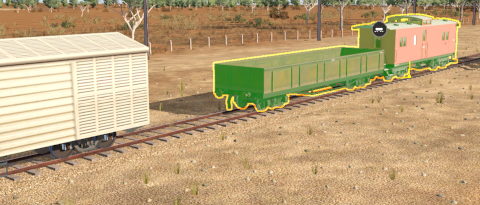
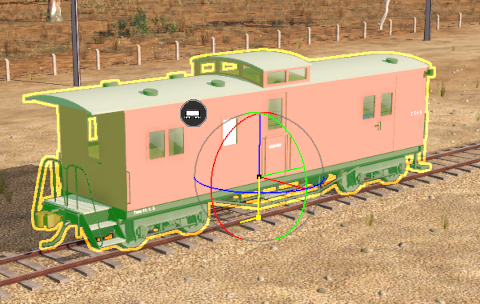
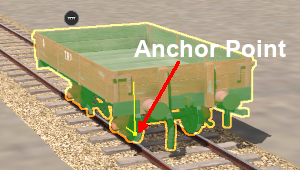
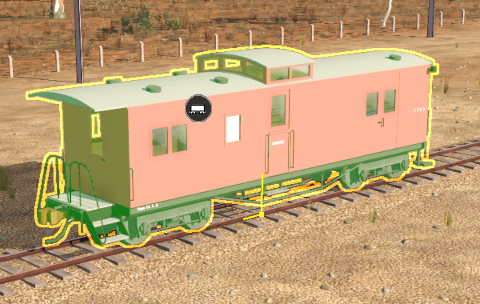
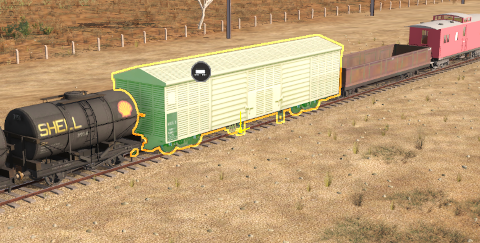
Using the same situation as above, the isolated guard van and the gondola wagon at the end of a consist are to be coupled together.
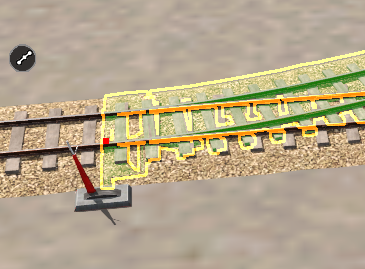
A selected track mesh object, or a group of selected track mesh objects, will have a Context Icon that opens a Context Menu. The icon design will vary between object types.
A selected scenery spline object, or a group of selected scenery spline objects, will have a Context Icon that opens a Context Menu. The icon design will vary between object types.
Using the same situation as above, the isolated guard van and the gondola wagon at the end of a consist are to be coupled together.
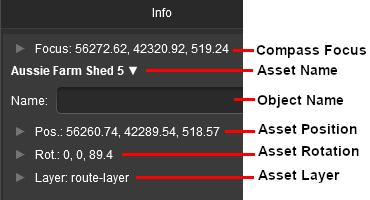
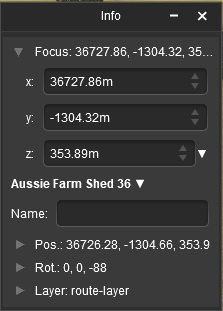
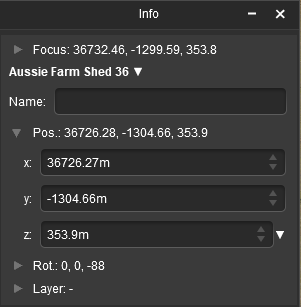
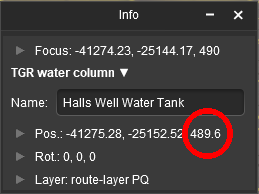
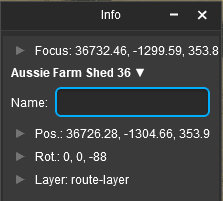
You must have an object (or objects) selected for the position data to be shown and edited. Open up the position data by a Left Click on its Pos: arrowhead icon.
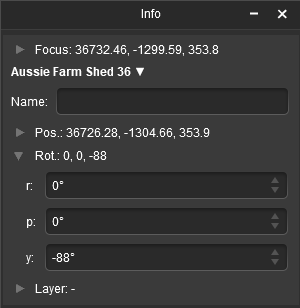
You must have an object (or objects) selected for the rotation data to be shown and edited. Open up the rotation data by a Left Click on its Rot: arrowhead icon.
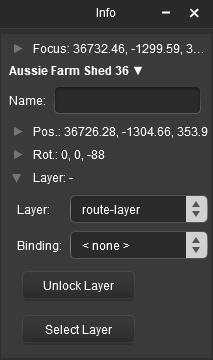
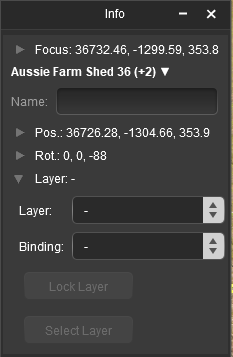
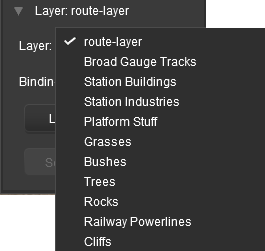
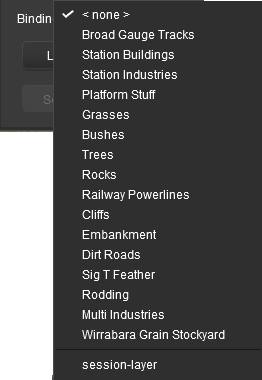
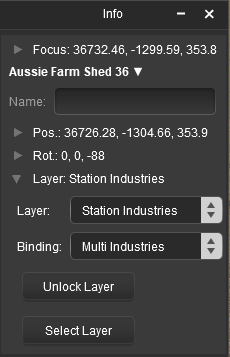
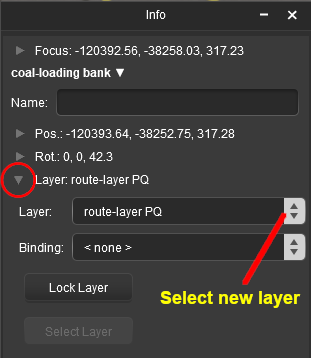
You must have an object (or objects) selected for the layer data to be shown and edited. Open up the layer data by a Left Click on its Layer: arrowhead icon.
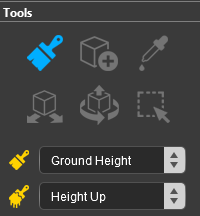
![]() Selecting an Effect Layer from the Brush Tool:
Selecting an Effect Layer from the Brush Tool:
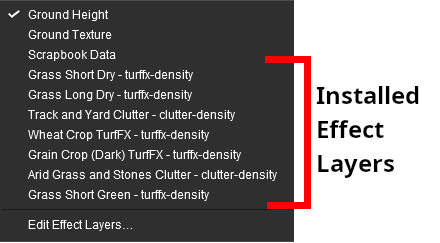
![]() Selecting an Effect Layer from the Layers Palette:
Selecting an Effect Layer from the Layers Palette:
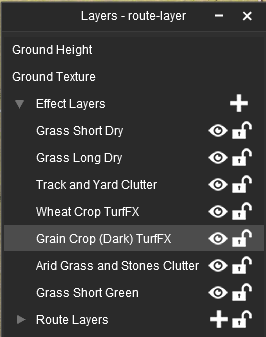
Save a Layer as a Preset below.
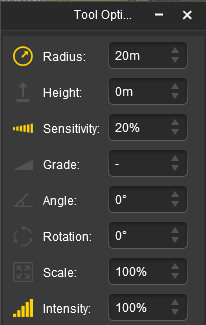
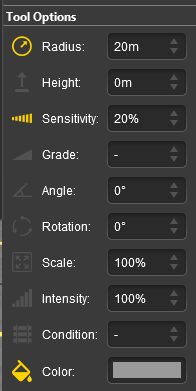
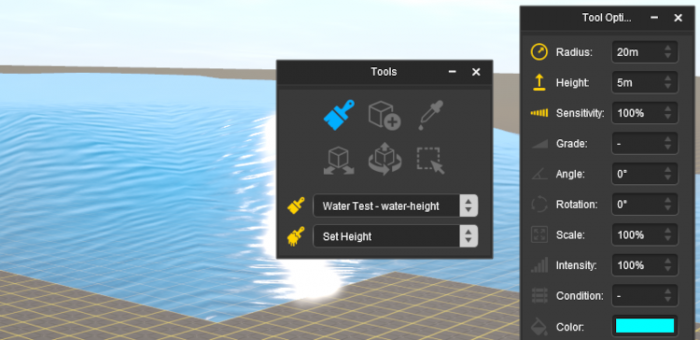

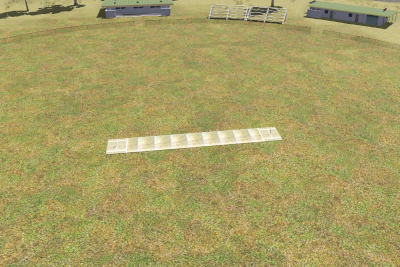
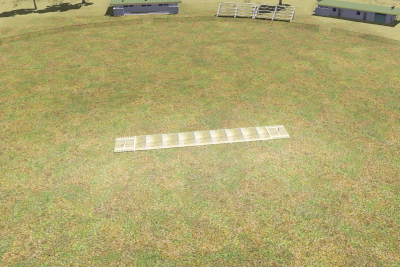
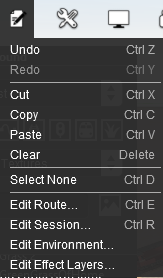
![]() Surveyor Edit Menu.
Surveyor Edit Menu.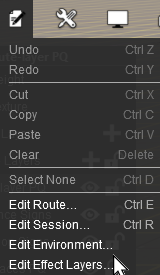

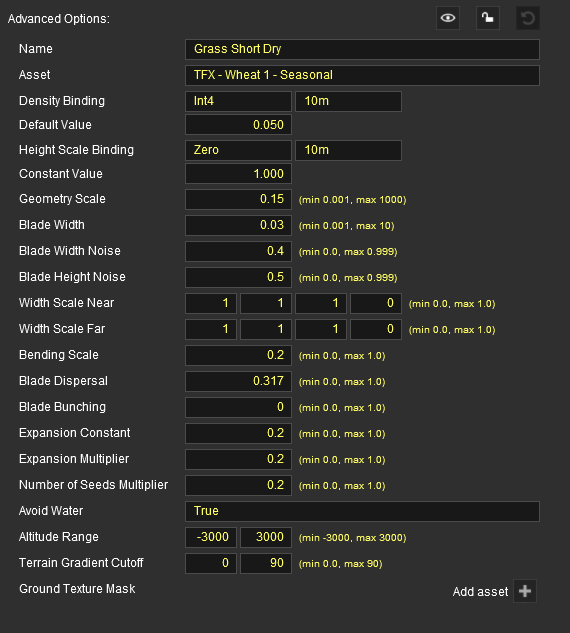

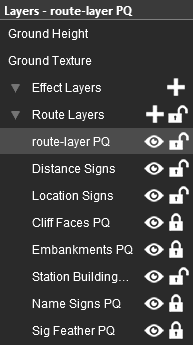
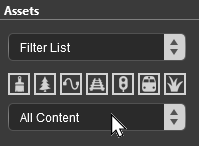
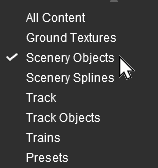
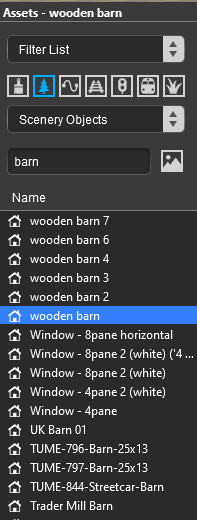
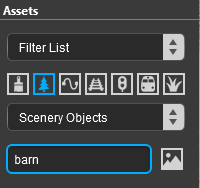
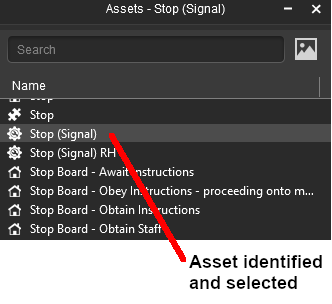
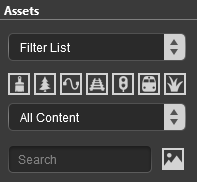
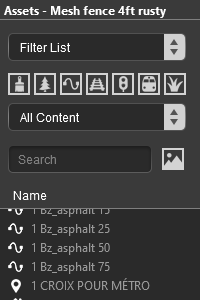
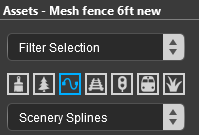
In the Assets Palette choose one of the following:-
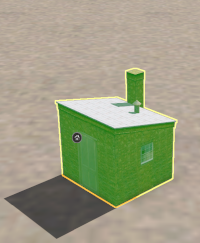
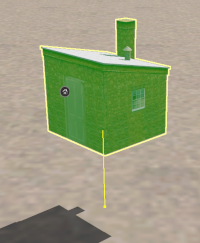
and
, or the
Shortcut , as described in
Placement: Scenery Mesh Objects above.
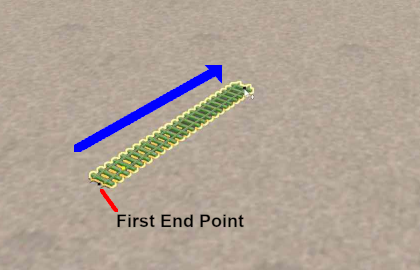
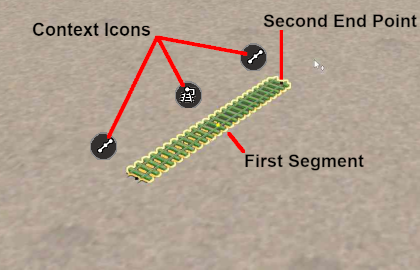
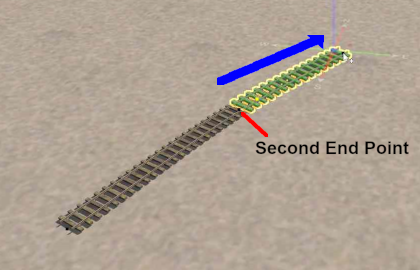
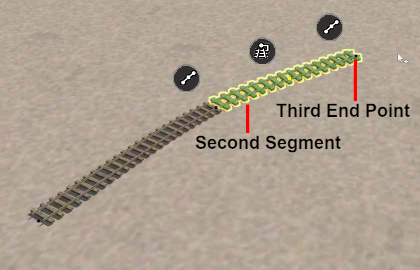
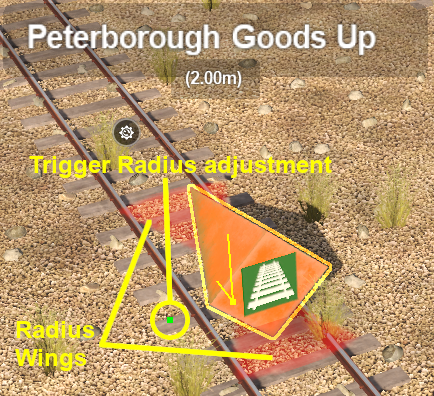
and
, or the
Shortcut , as described in
Placement: Scenery Mesh Objects above.
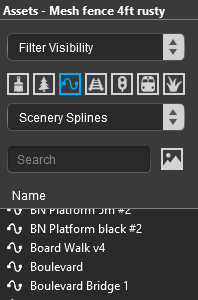
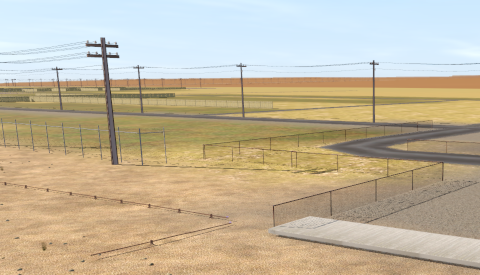
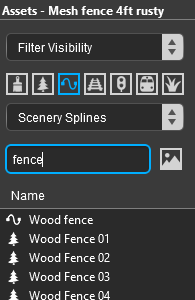
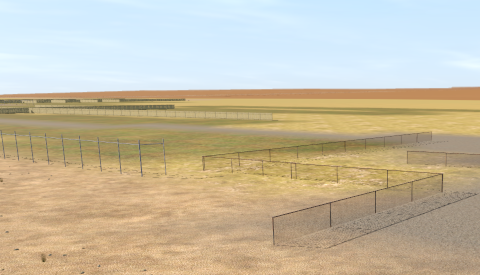


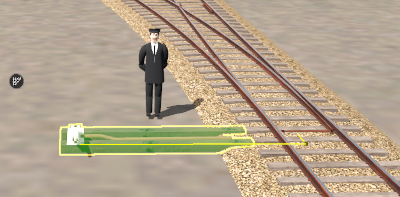
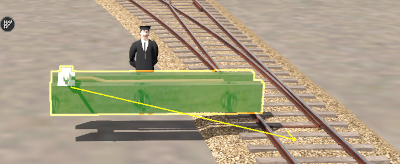

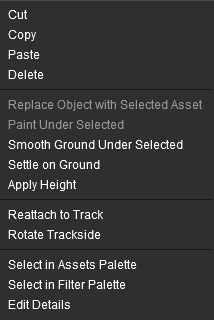
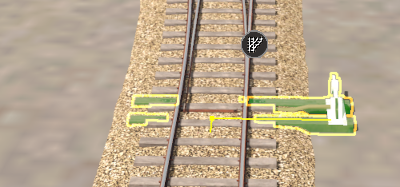


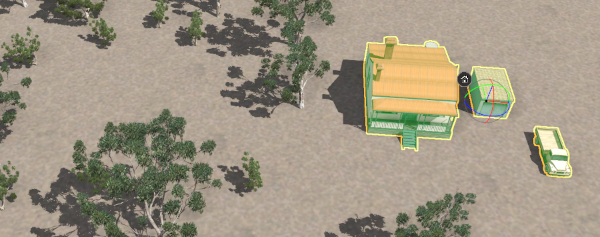
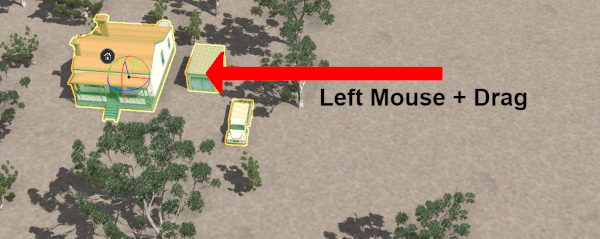
![]() Using "Click and Drag"
Using "Click and Drag"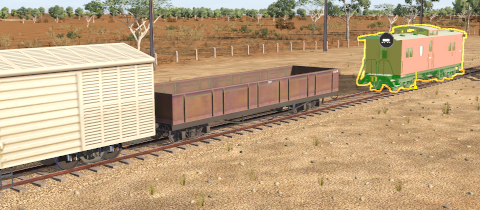
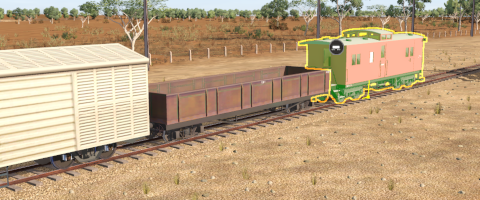
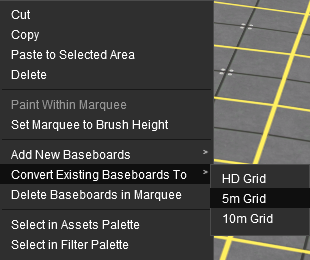
![]() Using the Context Menu
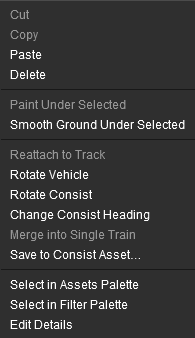
Using the Context Menu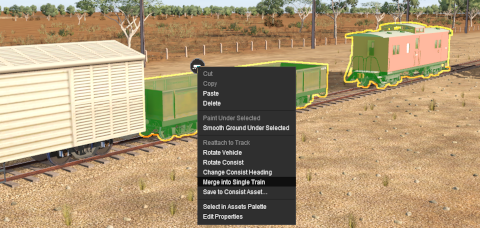



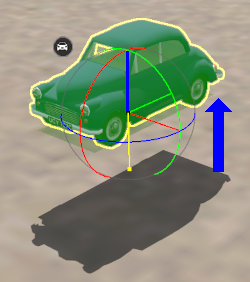
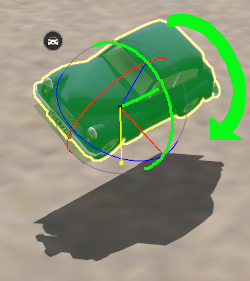
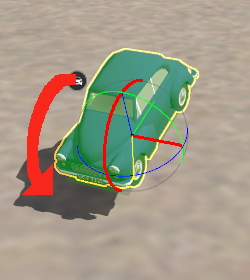
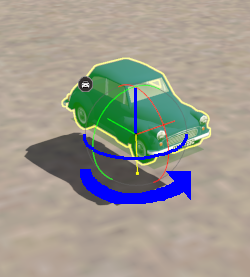



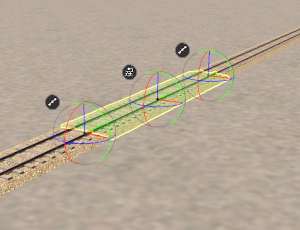
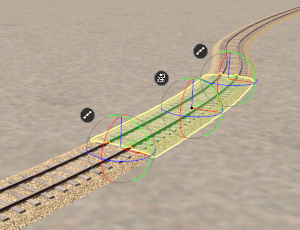
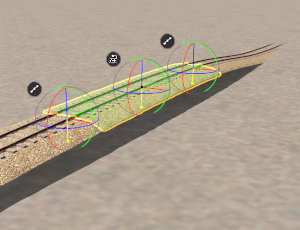
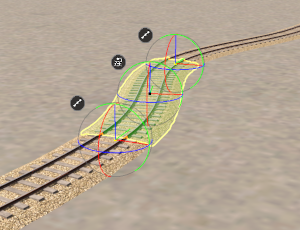
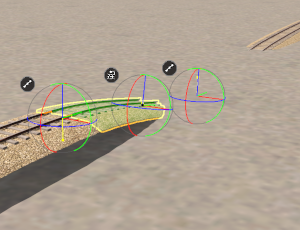


![]() Using "Click and Drag"
Using "Click and Drag"

![]() Using the Context Menu
Using the Context Menu


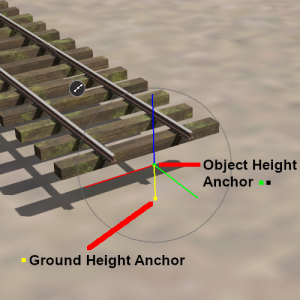
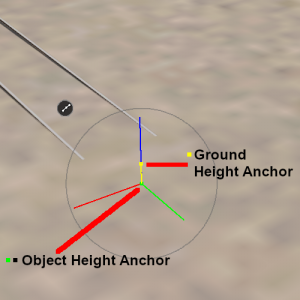
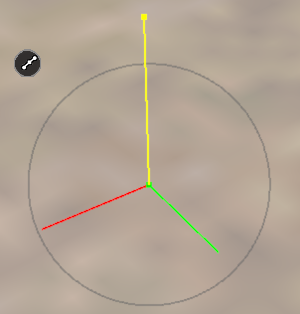
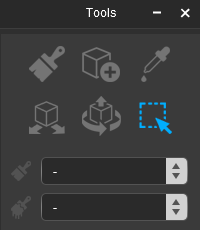

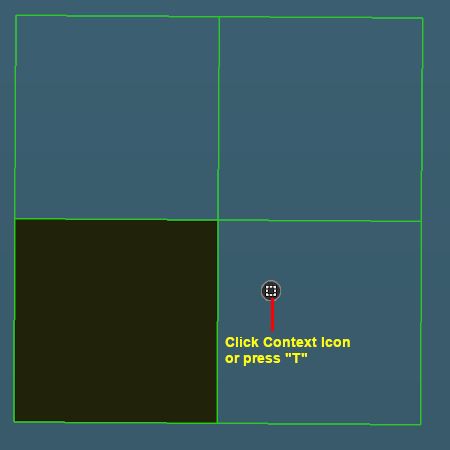
![]() or press the T key.
or press the T key.