How to Move a Picklist
m |
m |
||
| Line 14: | Line 14: | ||
<tr valign="top"> | <tr valign="top"> | ||
<td> | <td> | ||
| − | <table bgcolor=# | + | <table bgcolor=#ffffe0 width=896> |
<tr valign="top"> | <tr valign="top"> | ||
<td>[[file:PencilTips.PNG|link=]]</td> | <td>[[file:PencilTips.PNG|link=]]</td> | ||
Revision as of 10:20, 23 March 2022
The information in this Wiki Page applies to TANE, TRS19, Trainz Plus and TRS22. This guide will show you how to move a Picklist from one installation of Trainz to another, on the same or different computers.
 |
|
|
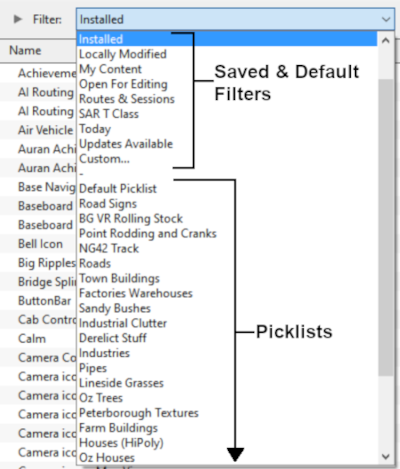
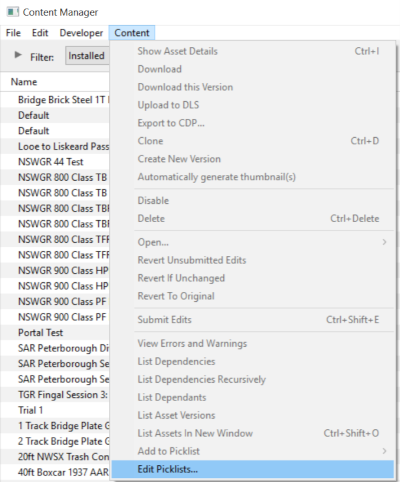
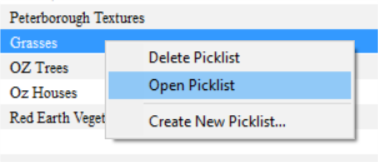
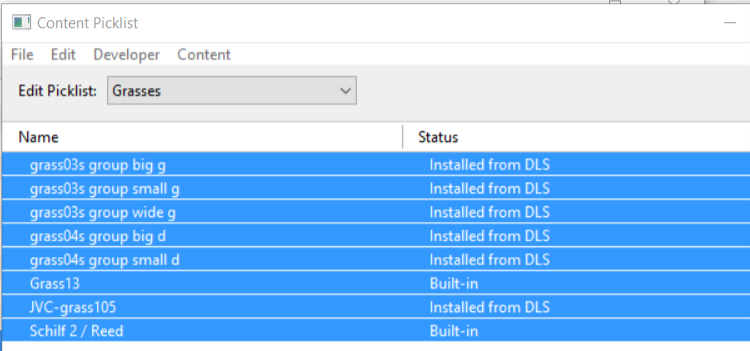
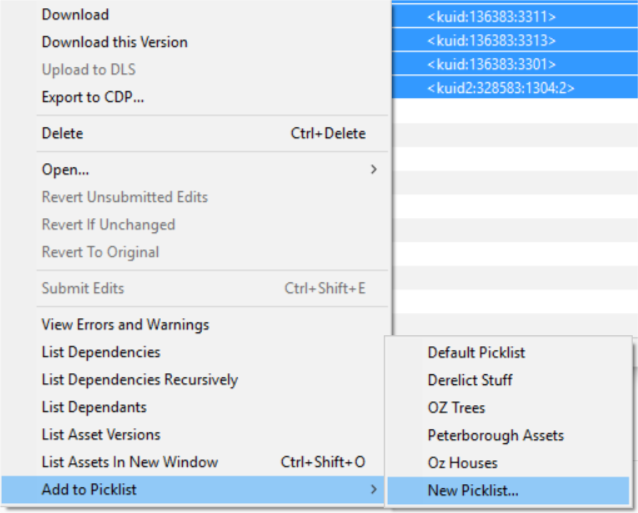
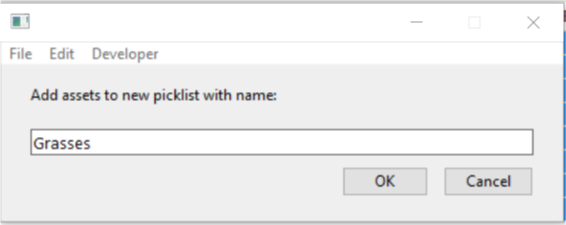
Access Your Current Picklists
 Steps |
|
||||||||||||||
|
|
|||||||||||||||
|
|||||||||||||||
|
|
|||||||||||||||
|
|||||||||||||||
|
|
|||||||||||||||
|
|||||||||||||||
Transfer the List to Another Copy of Trainz
|
 Steps |
|
|||
|
||||
|
||||
Trainz Wiki
 |
More Tutorials and Guides to Using Trainz |
This page was created by Trainz user pware in October 2018 and was last updated as shown below.
