This guide will show you how to move a Picklist created in TANE to another installation of TANE (for example, on another computer) or to a newer version of Trainz such as TRS19. For instructions on how to create a Picklist, see the wiki page How to Create a Picklist
Access Your Current TANE Picklists
 |
Step 1: Open CM and Your Picklists
From the TANE Launcher
- select Manage Content
- in Content Manager open the Content menu
- select Edit Picklist
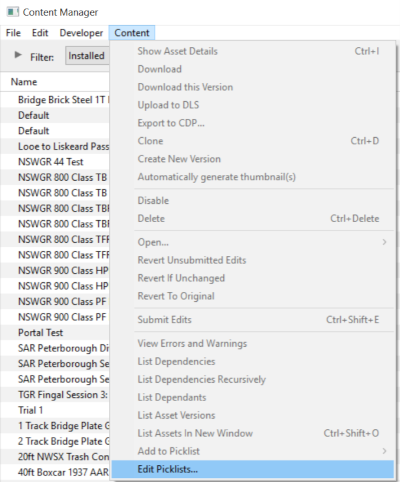
This will display all your current Picklists.
|
|
|
Step 2: Select the Picklist to be moved
- right mouse click on the required Picklist
- select Open Picklist from the popup menu
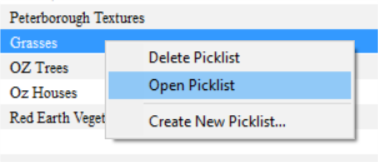
This will open the Picklist |
|
|
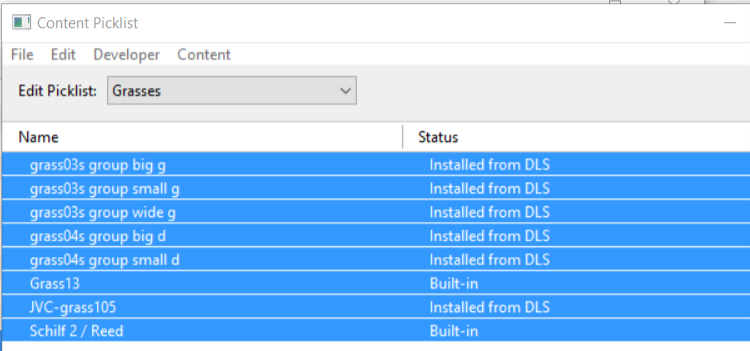
Step 3: Select Picklist Contents
- left mouse click on any one of the items
- press Ctrl-A to Select All the items
 |
|
|
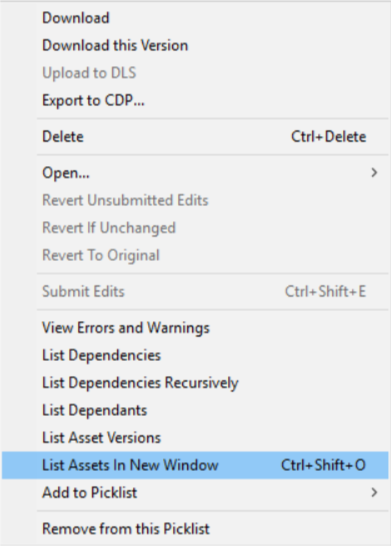
Step 4: Transfer List to a New Window
- right mouse click on any one of the items
- select List Assets in New Window from the popup menu
 |
|
|
Step 5: Copy Assets in Picklist
|
The Picklist assets will be listed by their kuids in the Asset KUID box of a new search filter

- click inside the Asset KUID box. This should highlight ALL the entries - if not, press Ctrl-A
- copy the asset list to the clipboard (press Ctrl-C)
|
|
Transfer the List to TRS19 (or Another Copy of TANE)
 |
Notes:
If you are transferring the Picklist to another computer then you will need to:-
- paste the list from Step 5 above into a program such as Notepad
- save it as a text file
- copy the file to your second computer.
There you can reverse the steps by:-
- opening the document (in Notepad)
- select and copy to the clipboard all the items in the list
Then proceed as described below. |
|
Step 6: Open CM and a New Filter
- in TRS19 or your second copy of TANE, open Content Manager
- start a new filter
- paste (Ctrl-V) the asset list into the Asset KUID box

|
|
|
Step 8: Enter a Name for the Picklist
|
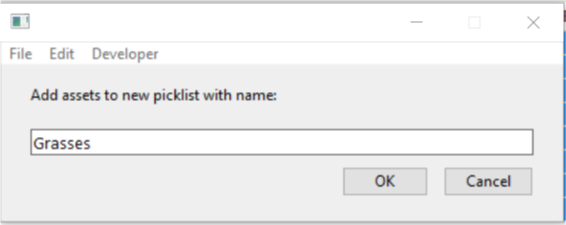
Enter a name for the Picklist and click Ok |
|
Trainz Wiki
 |
More Tutorials and Guides to Using Trainz
|


