How to Create a Picklist
From TrainzOnline
(Difference between revisions)
m (→Using Surveyor) |
m (→Using Surveyor) |
||
| Line 101: | Line 101: | ||
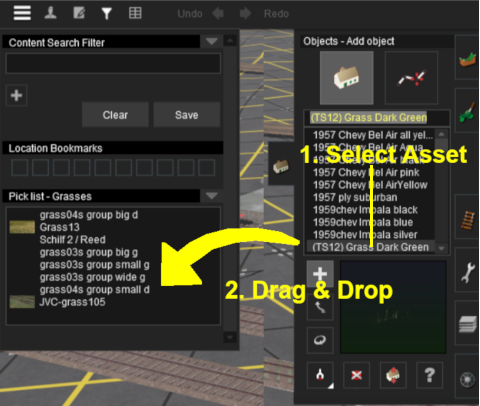
#'''Drag & Drop''' the asset from the selection window to the Picklist window | #'''Drag & Drop''' the asset from the selection window to the Picklist window | ||
#repeat as required<br> | #repeat as required<br> | ||
| − | [[file:PickList_Surveyor02.png]]</td> | + | [[file:PickList_Surveyor02.png]]<br> |
| + | Each item is automatically added and saved to the Picklist as it is "dropped". To remove an item from the list simply drag it out of the Picklist window onto the Surveyor screen.</td> | ||
</tr> | </tr> | ||
</table></td> | </table></td> | ||
Revision as of 15:14, 5 January 2019
This guide will show you how to create a Picklist in TRS19 or TANE (both programs use identical methods). For instructions on how to move a Picklist, see the wiki page How to Move a Picklist
Both programs provide you with two different methods of creating Picklists, using either Content Manager (or Manage Content from the TANE/TRS19 Launcher) in Surveyor.
Using CM
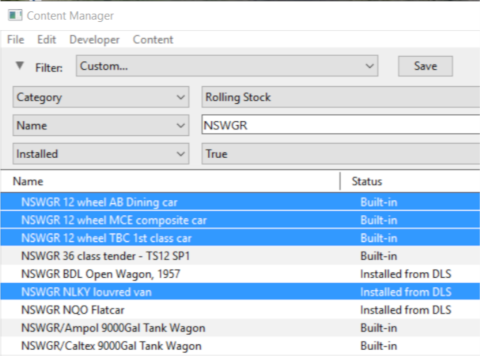
From the TRS19 or TANE Launcher, select Manage Content
 |
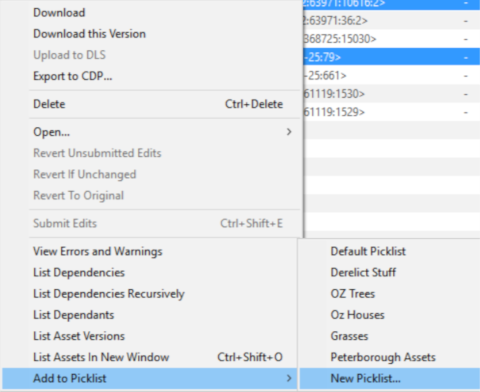
Step 2: Add the assets to the Picklist
|
 |
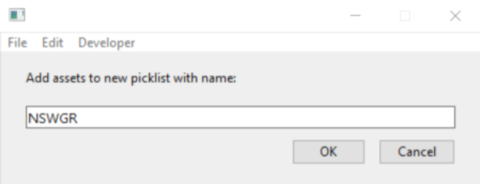
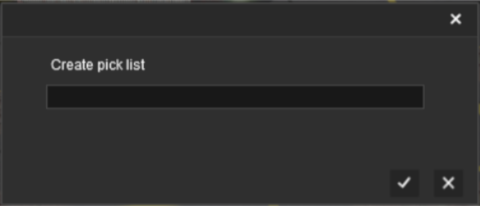
Step 3: Enter Picklist Name (for New Picklist option only)
|
Using Surveyor
In Surveyor in either TRS19 or TANE.
 |
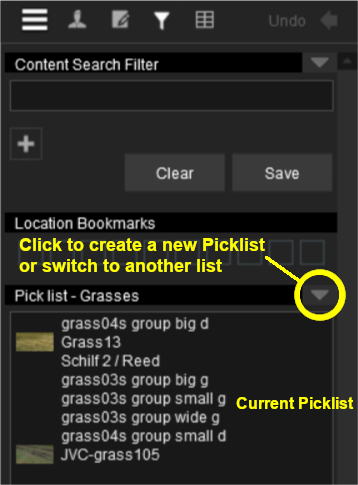
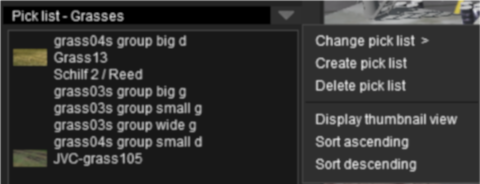
Step 1: Open the Picklist Window
|
 |
Step 2: Add the assets to the Picklist
|
Trainz Wiki
 |
More Tutorials and Guides to Using Trainz |
