SAR Scenario Gladstone-Terowie Passenger
From TrainzOnline
Gladstone to Wilmington Local Freight
A twice weekly (if required) freight service from Gladstone to Wilmington dropping wagons at locations as required.
 |
|
|||||||||

| Duration: | 3 hours |
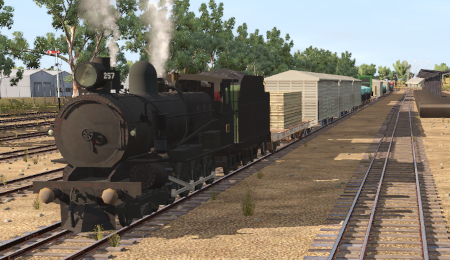
| Loco: | SAR T 257 on Gladstone Yard 2 Other Unrostered Locos:
|
| Consist: | Attached to SAR T 257. 4 MTW wagons, 5 QLX wagons, 4 WHE covered wagons, 1 DB Guard Van. Each wagon has its destination as part of its name e.g. QLX Wirrabara 2 indicating it is the 2nd QLX wagon for Wirrabara. |
| Task: |
|
| Driving Notes: |
|