How To/Use GIMP to create a PBRMetal parameters image
Contents |
Introduction
This tutorial demonstrates how to create a PBRMetal parameters image within GIMP.
GIMP
GIMP (GNU Image Manipulation Program) is a free image painting program available from the GIMP website. The version used for this tutorial is GIMP 2.8.22. Version 2.10.6 (latest) also works with this process.
Process
This tutorial only discusses the use of uncompressed Targa (TGA). These files use 8 bits for each channel so a RGBA texture would have 4 * 8 = 32 bits per pixel. Trainz will accept PNG files and PNG files may work with this process.
Using your own images
This assumes you have your own images for use in the:
- Red Channel - Emissive
- Green Channel - Roughness channel
- Blue Channel - Ambient occlusion
- Alpha Channel - Metallic
These files should all have the same dimensions, the same size as the target parameters file, and correctly sized for Trainz purposes.
Four images are provided for tutorial purposes and can be found in File:GIMP-parameters-tute-images.zip:
- red_channel-emissive.tga
- green_channel-roughness.tga
- blue_channel-ao.tga
- alpha_channel-metallic.tga
For convenience, the file names reflect the channel id and the type of texture. The emissive and ambient occlusion textures are plain colours but the roughness and metallic have shades of grey.
Actions
- Start GIMP. You will need the Layers and Channels window open. You may find it useful to run GIMP as a single window. (Windows->Single-Window Mode)
- Select the Layers tab. It should be empty.
Load the channel images
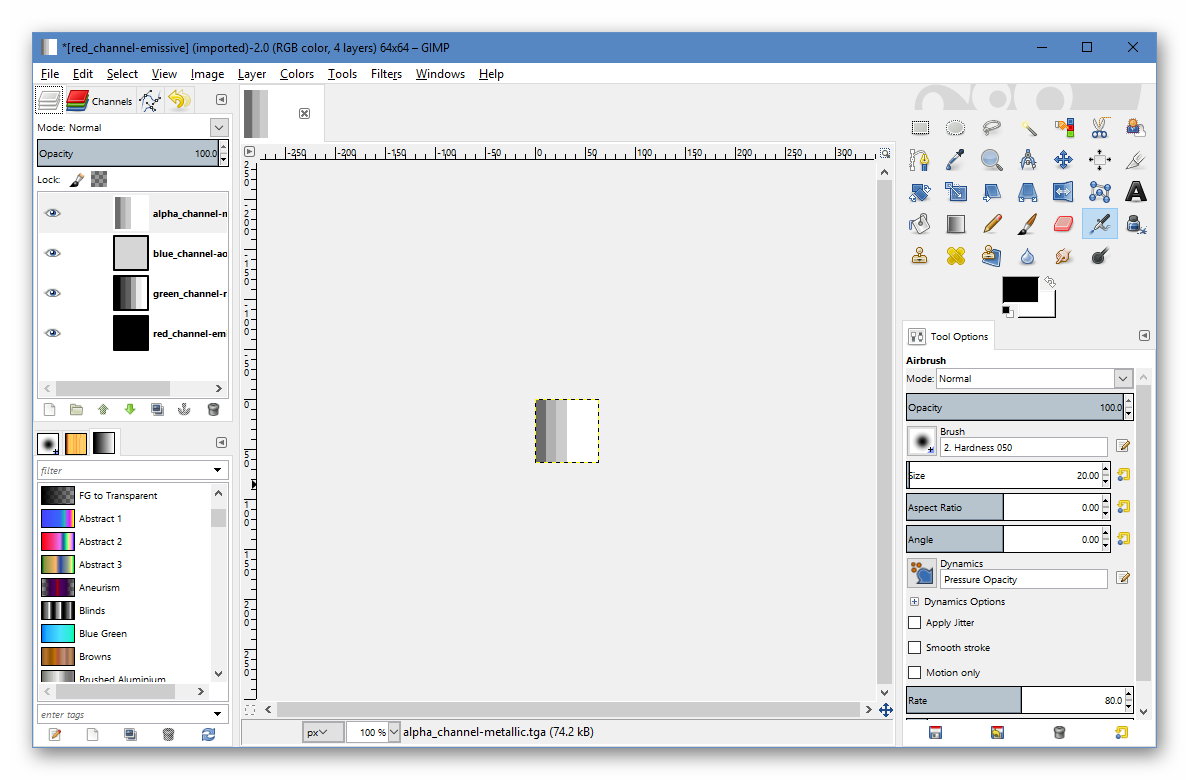
- Use the "Open as Layers" control (Ctrl+Alt+O) to load the red channel image. The emissive image is displayed. You should see the red channel image in the layers panel.
- Use the "Open as Layers" control to load the green channel image. Note that the image in the main display is replaced. The green channel image should be in the layers panel.
- Repeat for the blue channel (AO) image and the alpha channel (metallic) image.
- Save the data as a working image in XCF format. This will preserve the layers. Use a name like working_parameters.xcf or whatever suits you.
Composing the channels
- Use the Image->Mode->Grayscale command to change the image to greyscale.
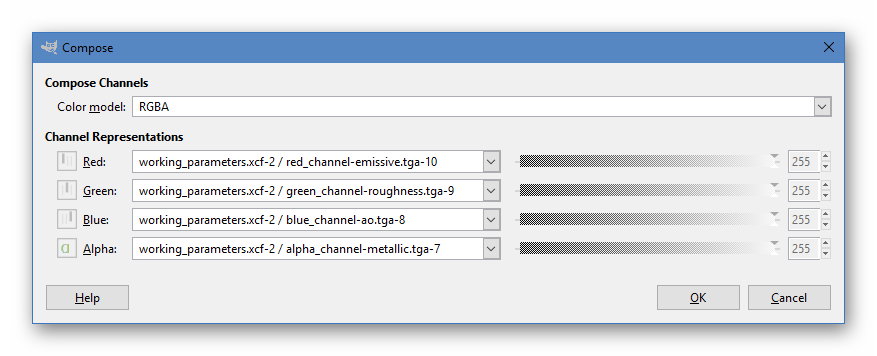
- Open the Compose Channels dialog using the Colors->Components->Compose command. You may want to widen the dialog box as the filenames can be long.
- Change the Color model to RGBA.
- For each channel change the link to the appropriate input file. After this the dialog should look something like the following:
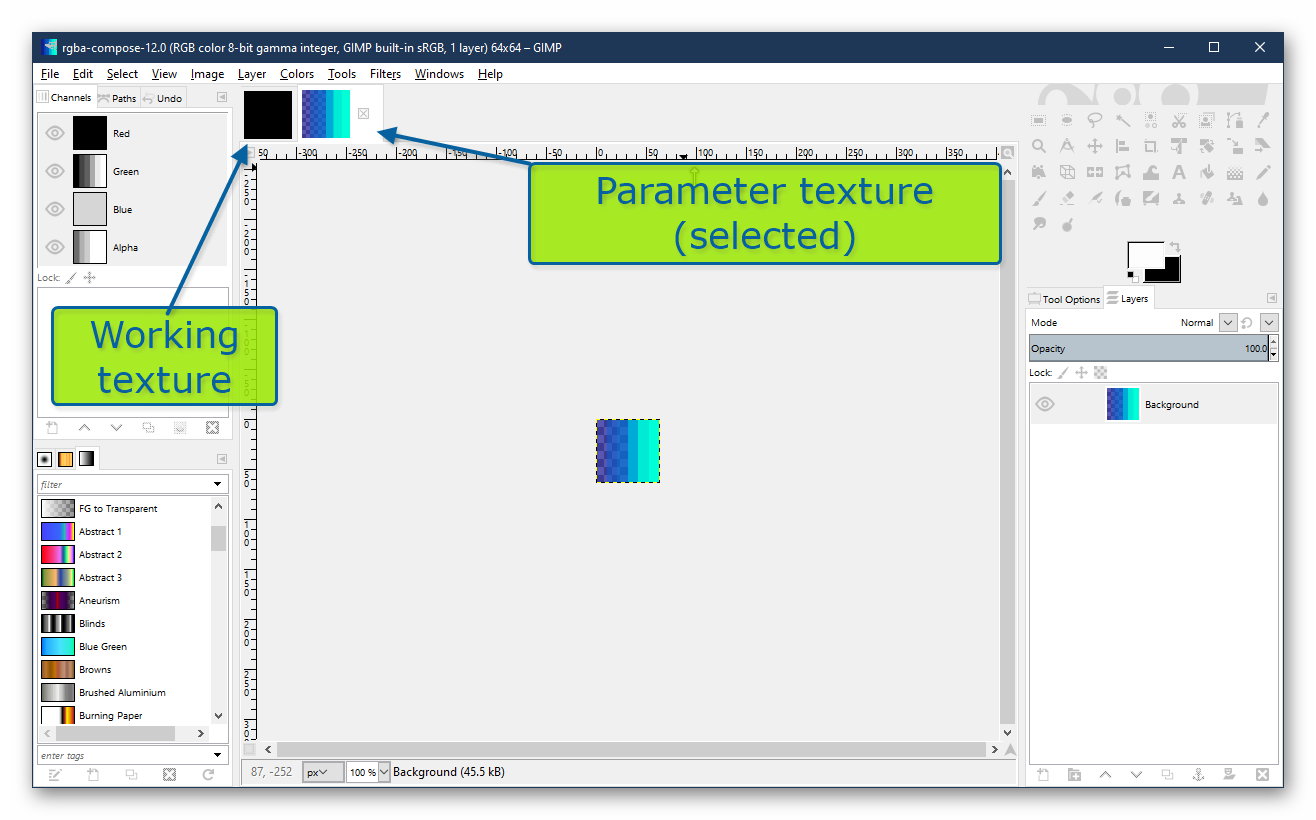
- Select OK and a new image is created and should look like the image below. GIMP treats the image as being partially transparent due to the alpha channel.
- Make sure the parameters image is selected and export as a TGA uncompressed file. GIMP uses a default name and probably PNG, so you will need to change that.
- You may want to save your working image, i.e.the one that shows the last channel image loaded which is probably the alpha channel.
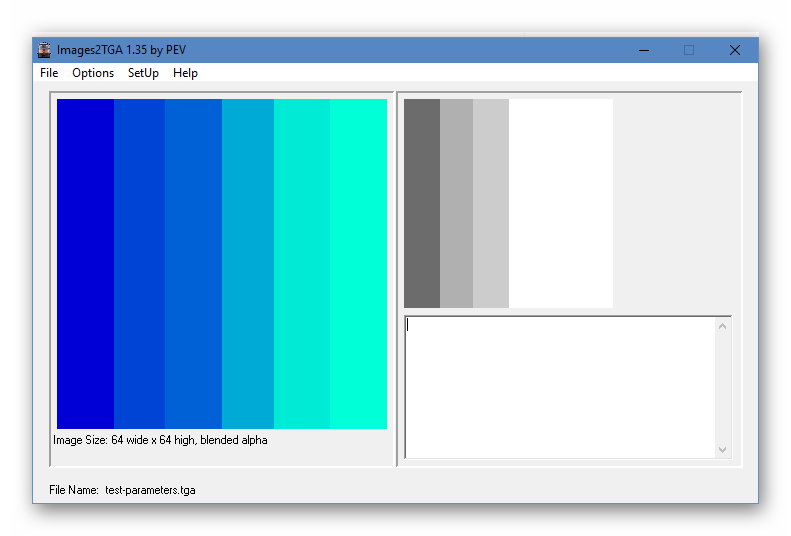
- The exported image should look like the following image as shown in Images2TGA.
Making an Emissive channel in GIMP
Rather than making an emissive image you can manufacture it within GIMP. This can be useful if you want zero emissive (black) or some inner glow (greys), See M.pbrmetal for more information.
- Instead of importing an emissive image create a new layer and fill the background with the colour of your choice.
See also: M.pbrmetal


