Help:TurfFX Effect Layer
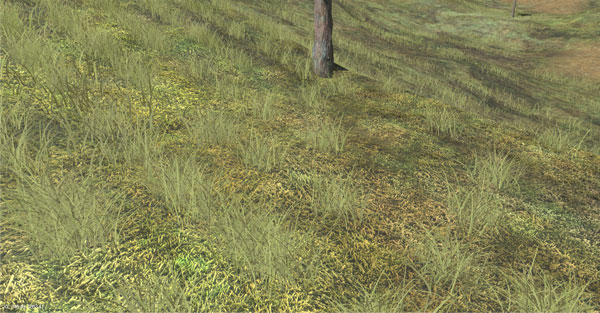
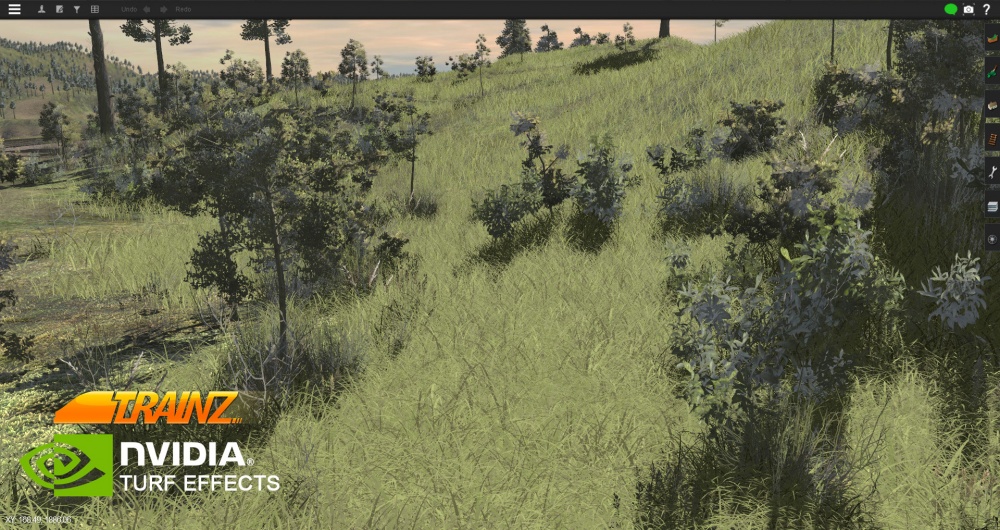
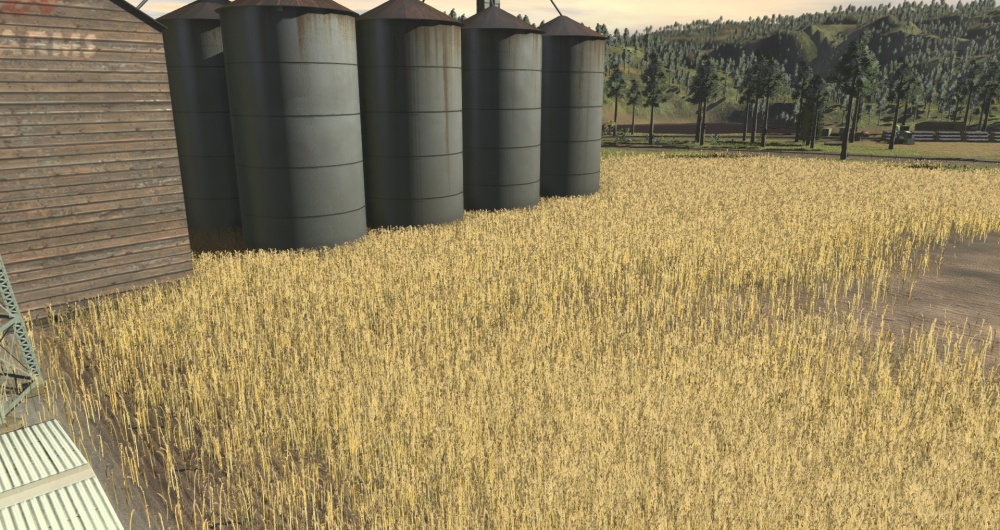
The TurfFX Effect Layer is an Effect Layer type which is used to render grass (and similar foliage). As with all effect layers, turf is painted onto the terrain and automatically generates appropriate geometry for the area surrounding the camera. As compared to the Clutter Effect Layer, TurfFX offers less flexibility but substantial improvements to performance which in turn allows for greater density at greater draw distances and effective wind-synchronised animation.
Overview
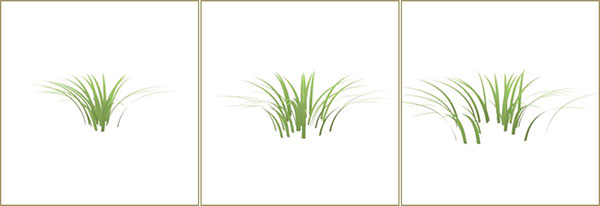
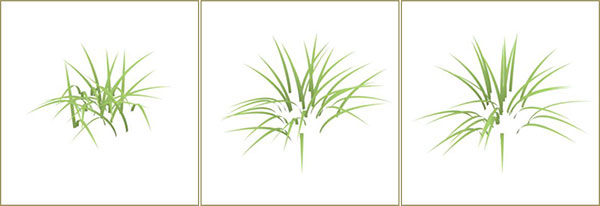
A TurfFx asset is made up of individual polygon blades with many options to configure each blade in your Turf Effect Layer and within the asset itself. The individual asset creation process is explained in Effect_Layer_Assets.
Trainz - Content Creation - #36 - Turf Effects (part 1)
This first tutorial on Turf Effects explains how to get up and running with painting some grass around your route. The next tutorials on turf will dive into detailed information on all the below parameters.
Trainz - Content Creation - #37 - Turf Effects (part 2) - Parameters Explained
This second tutorial on Turf Effects explains in detail all the parameters that come with a Turf Effect Layer.
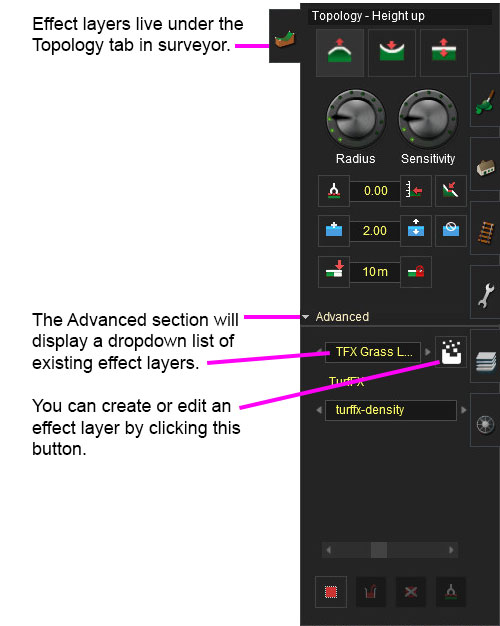
Creating and Editing Turffx Layers in Surveyor
NOTE: To return to ground editing mode you select "Ground" option in the dropdown list in the above image
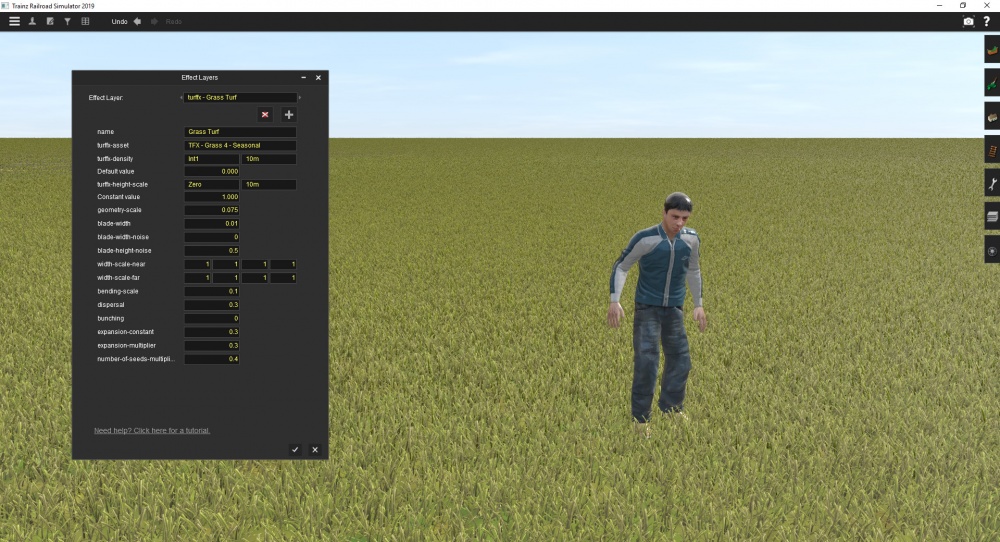
Effect Layer Window
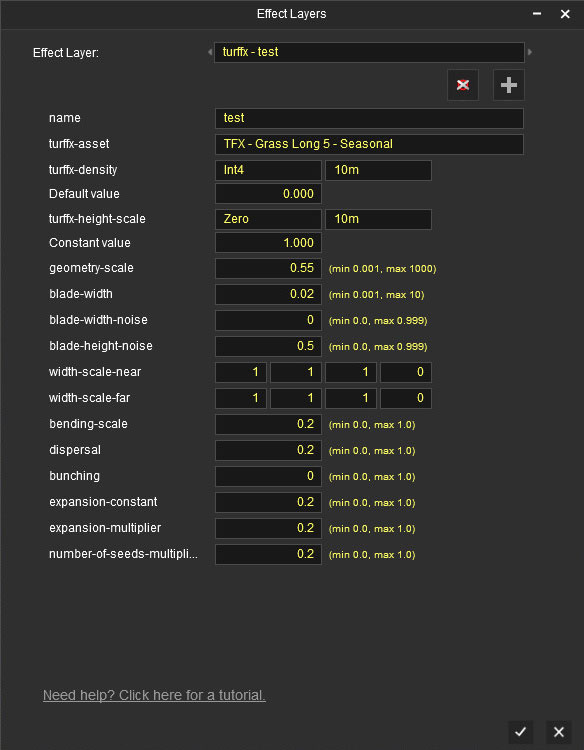
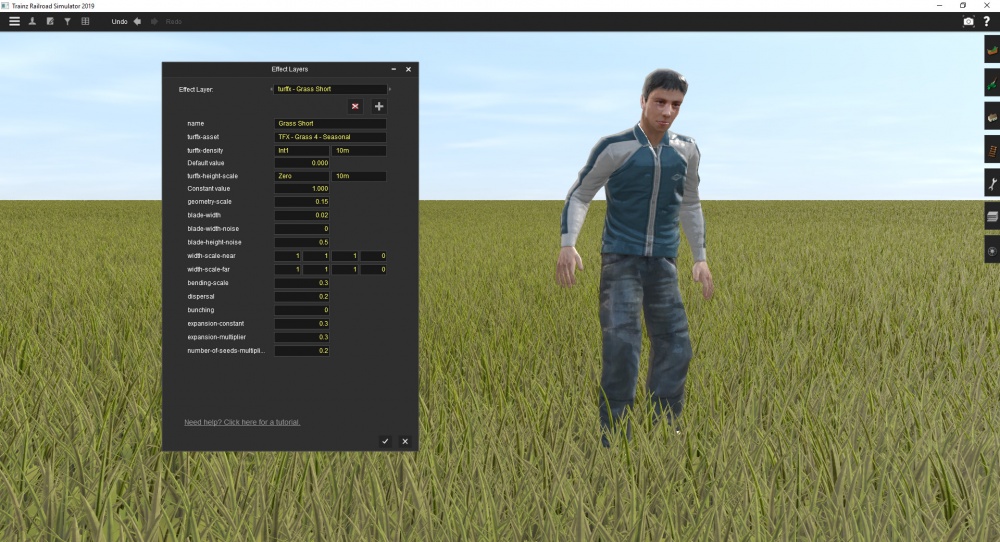
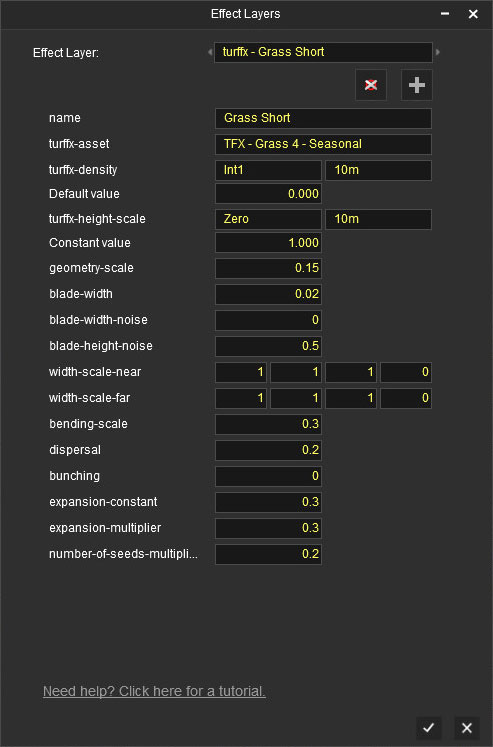
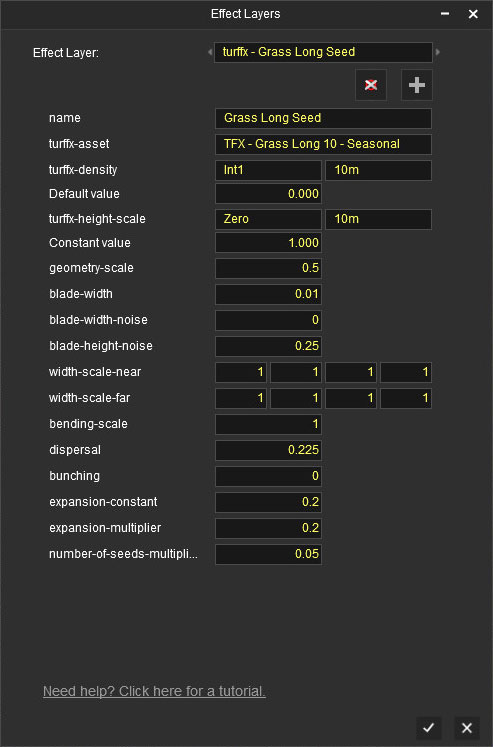
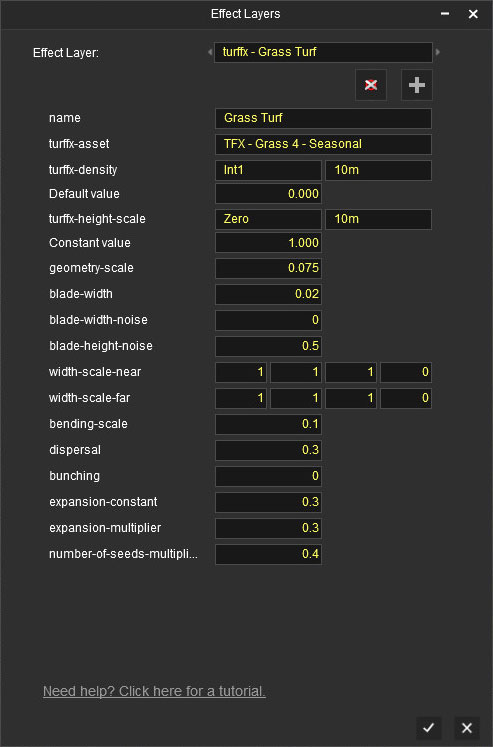
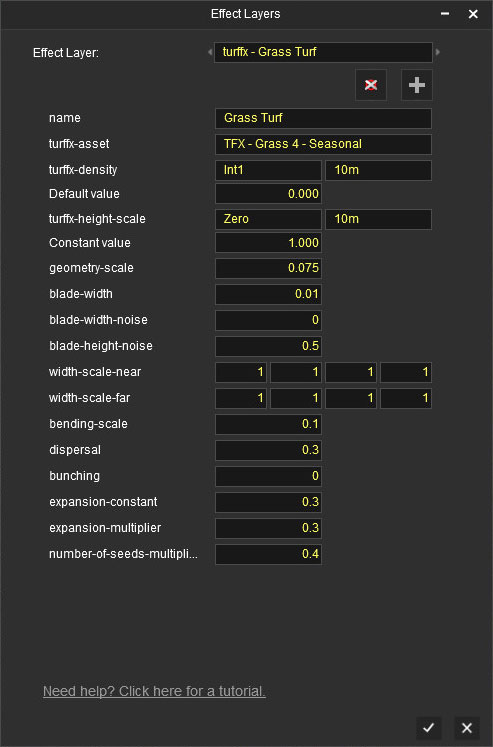
The Effect Layers window allows you to edit your effect properties. The UI in this window will change based on what effect you choose (clutter, turf, something else).
We've included some defaults to get you started with TurfFX, and suggest you experiment with each control to customise your effect.
Select
This allows you to select any existing effect layers to view and edit their parameters.
Delete
This button will delete the currently selected effect layer.
Add
This button will allow you to create a new effect layer.
Name
Enter a name for your effect layer.
Turffx-Asset
Select a "Turf" asset you want to use in your turffx layer from the dropdown list. Once selected and named, you can customise how this particular layer will be configured wherever it is painted throughout the route.
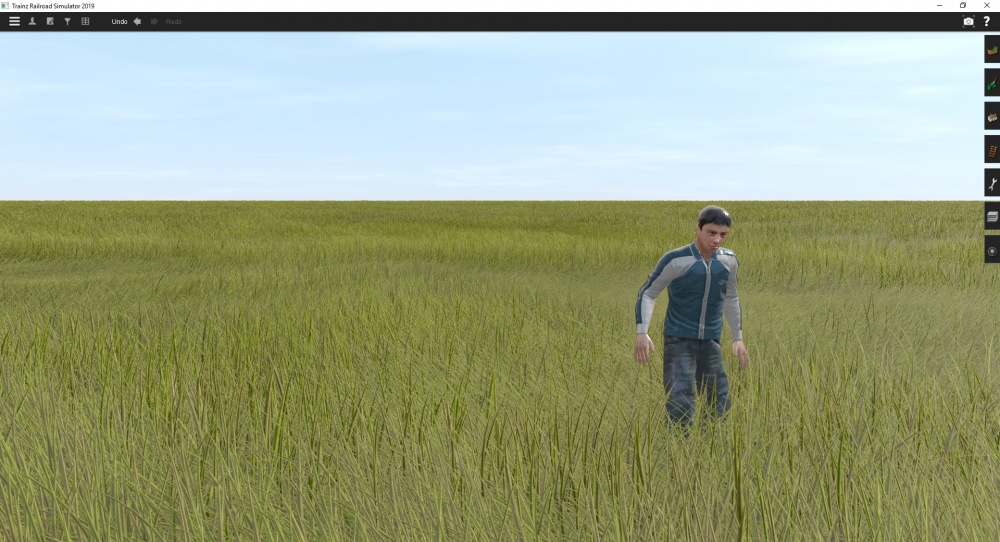
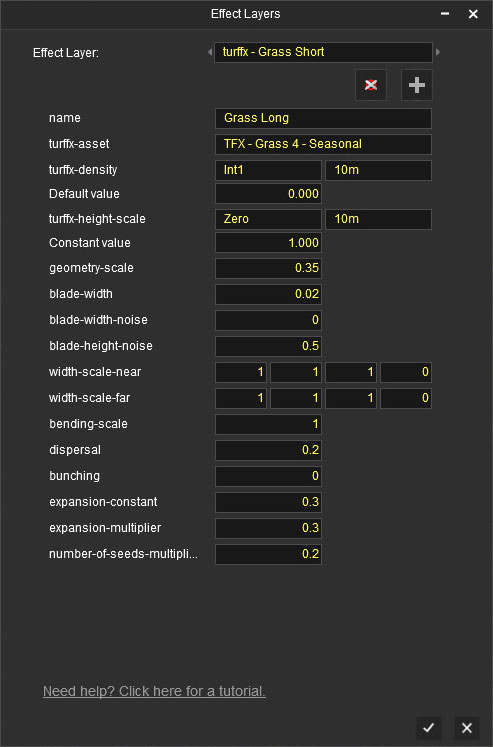
Note that if you want short grass and long grass, you need to create two different TurfFX layers.
Turffx-Density Data Binding
The "turffx-density" options and associated "default" value control the Effect Layer Data Binding (read this link for details) which controls the density of this turffx layer across the route. Density ranges from 0.0 (no turf present) to 1.0 (maximum density).
NOTE: The turffx-density parameter (int1, int2, int4 ...etc) determines how accurate your density will be when painting with the height up/down and sensitivity radius in the topology tab. For example, int1 will give you 1 click while painting to get 100% density (off or on). Int4 will give you 1 click for 1/3rd density, 2 clicks for 2/3rds density, 3 clicks for 3/3rds density. Obviously the more accuracy you need the more data will need to be stored so use the appropriate data binding for the effect you require.
Turffx-Height-Scale Data Binding
The "turffx-height-scale" options and associated "constant" value control the Effect Layer Data Binding (read this link for details) which controls the height of this turffx layer across the route. Height ranges from 0.0 (no turf present) to 1.0 (maximum height).
Geometry-Scale
This changes the height of your blade geometry in meters.
Blade-Width
This changes the width of your blade geometry in meters.
Blade-Width-Noise
This adds random variation to the width of your blade geometry.
Blade-Height-Noise
This adds random variation to the height of your blade geometry.
Width-Scale-Near
This defines the shape of your blade geometry up close to the camera.
Width-Scale-Far
This defines the shape of your blade geometry in the distance.
Bending-Scale
Defines how much your blade geometry will bend in the wind. (bending strength for wind animation)
Dispersal
Dispersal controls the radius around a seed point to place individual grass blades.
Bunching
Bunching controls radial alignment of individual grass blades around the seed point. Bunching equal to one (1) produces maximally aligned distribution of grass blades, while zero (0) would result in completely random distribution.
Expansion-constant
- This affects how many grass blades will be at each point in the grid. Tweaking this number will change the density.
- Expansion = "expansion-constant" + "expansion-multiplier" * "value0"
- Try a starting value of 0.3.
Expansion-multiplier
- This affects how many grass blades will be at each point in the grid. Tweaking this number will change the density.
- Expansion = "expansion-constant" + "expansion-multiplier" * "value0"
- Try a starting value of 0.3
Number-of-seeds-multiplier
- This affects how many new points in each grid to sprout grass blades. Tweaking this number will change the density.
- Number of Seeds = "number-of-seeds-multiplier" * "value0"
- Try a starting value of 0.3
Painting Turffx
Using Height Up and Down Tool
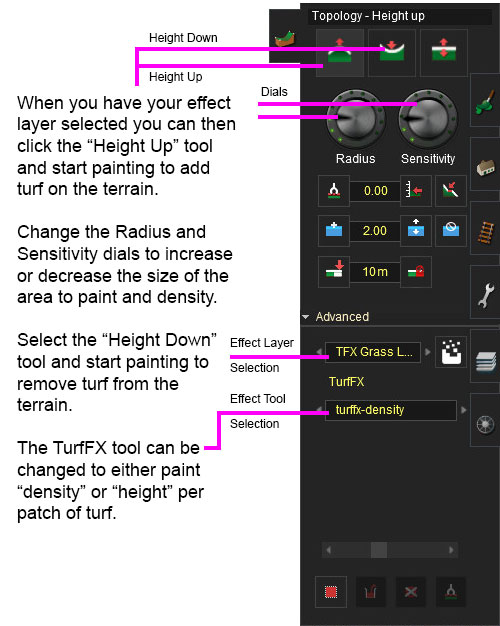
Effect Layers are selected in the Advanced Topology Tab. When you change from Ground to any of the Effect Layers you have created, the Height Up, Height Down and Radius tools are used much like the tools in the Paint Tab.
Using Area Fill Tool
You can also select an area and fill the area with your selected Effect Layer Binding. Set the Effect Fill Density slider when using the Fill tool to adjust the density of your effect layer.
Painting Tips
- Effect Layers are data intensive, and so you need to work out where you require precision (e.g. in highly visible areas) and where you can use much less precision (e.g. away from the track areas)
- Using 2.5m precision everywhere will consume your scene budget very quickly.
- Using the turffx-height-scale tool will raise or lower existing effect layers only. (i.e. you need to paint some density prior to adjusting the height)
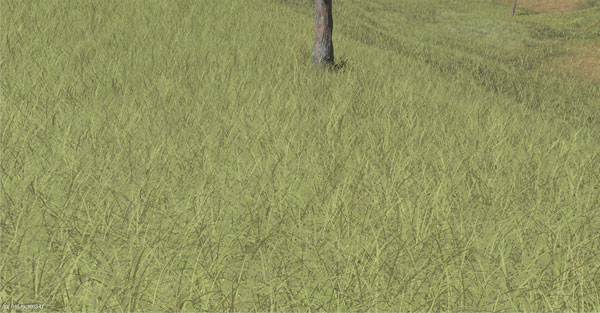
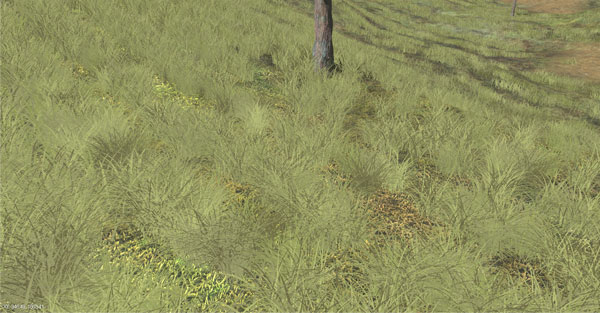
- Experiment with different values such as using 0.001 for dispersal to get that "clumpy" look (then try 0.05, 0.5 etc for different looks)
New TurfFX Tools (2020)
These new tools will be delivered as part of the Trainz Plus update for Q1 2020 and provide a range of new options to make your task of adding effect layers easier and more flexible.
Adding Effect Layers
You can now choose from a range of Preset options and edit those options as much as you like.
To access these options, go to Topology Tab -> Advanced Section -> Edit/Add effect layers.
The default selection is TurfFX, or you can change to Clutter if required.
Option 1: Using a preset
- Select an Effect Preset using either the arrow keys or dropdown list.
- This opens the Advanced options so that you can edit the settings as required.
- Press the check (tick) button to close the Effect Layers window.
Note: Turf Effects can only render in one viewport. This means if you have the Effect Layers preview window showing the turf will be rendered in that window and not in your route. When closing the Effect Layers window the turf will begin rendering in your route after about 3 - 5 seconds.
Option 2: Using a preset and editing it
- Select an Effect Preset.
- Toggle Advanced Options.
- Edit the Advanced Options.
- Press the check (tick) button to close the Effect Layers window.
Note: Turf Effects can only render in one viewport. This means if you have the Effect Layers preview window showing the turf will be rendered in that window and not in your route. When closing the Effect Layers window the turf will begin rendering in your route after about 3 - 5 seconds.
= Masking Option
There are new options in the Advanced Section that determine whether effect layers will or won't be painted in various areas. These options are:
- Avoid-water (Effects will NOT appear under a water layer)
- Altitude-range (Effects will NOT appear outside the max/min altitude set)
- Gradient-range (Effects will NOT appear if the slope exceeds the limit you set)
- Ground-texture-mask (Effects WILL appear ONLY upon the textures you add to the mask)
TIP: The accuracy (precision) of effect layers depends on turf-density settings. The higher the precision, the more data required.
Bulk Editing Effect Layers
You can now also "Bulk Edit" to rapidly update a route from older versions of Trainz to use the TurfFX layers.
To access the Topology -> Advanced Section -> [ Select an Effect Layer you have created for this route ] -> Click on "Bulk fill effect layer"
The "Bulk Asset Update/Replace" window appears.
In “Assets to update” list, use the Picker to select one or more existing ground textures that you want to apply the effect layer to.
In “Asset to update with” select the Effect layer to use by dragging from the Topology tab Effect layer dropdown list.
“Autofill density/height” is used to create density or height variation (depending on which “TurfFX” option you have selected under the Topology -> Advanced Section -> TurfFX drop down). This is where you might need more turffx-density higher than Int1 to see better results to increase precision.
There are two configurable options to choose as well:
- "Randomise fill density by xx%" - A checkbox and slider that changes from a uniform fill to a random fill, where the slider sets the amount of randomisation and the main density slider (beneath the "replace with" asset) sets the median. Ranges from 0% to 100%.
- "Skip areas with" - A dropdown menu that causes the tool to skip any effect layer vertices which already have effect layer data. Has two options, "Data for this binding" and "Data for effect layers of this type".
Click "Begin" to bulk paint the effect layer on your configuration.
TIP: If you have applied any of the new "masking" options (Avoid-water, Altitude-range, Gradient-range, Ground-texture-mask) in your effect layer creation then this could be overriding the results you are seeing.
Bulk Paint Under Splines
While not related to Turffx, there is also a new tool designed to quickly apply ballast under your track. Of course you can also apply any other texture under a spline such as grass along a roadside, or fenceline.
From the Tools Menu Select "Bulk Asset Update/Replace".
In “Assets to update” list, use the Picker to select one or more existing splines, or drag more splines from the Track list.
In “Asset to update with” select the ground texture you want to use as fill.
Under the Paint Tab -> Radius, change the radius to the width your wish to paint. (The smallest radius will give a 10m wide texture).
Click "Begin" to bulk paint the effect layer on your configuration.
Example Usage
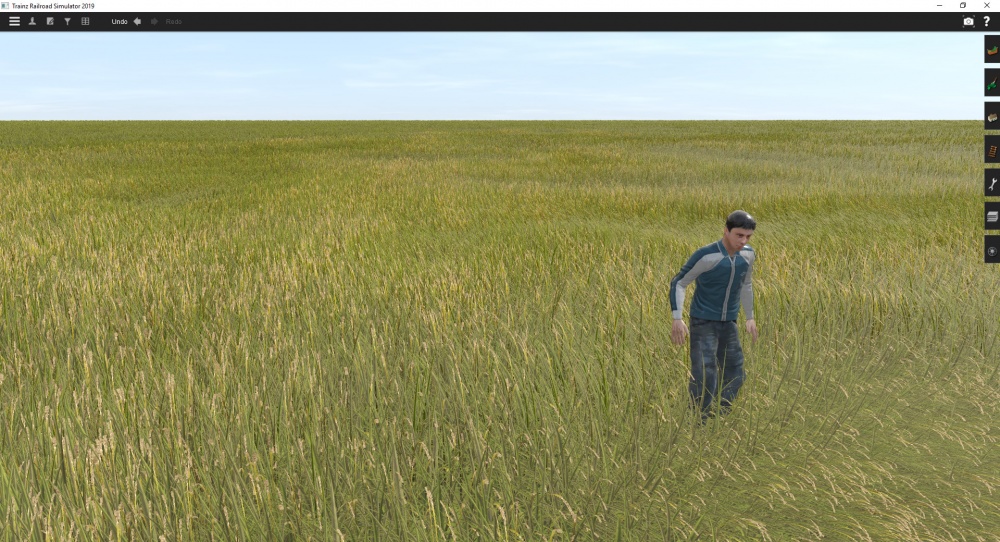
Short Grass
Watch the video tutorial on Short Grass [HERE]
Medium Grass
Watch the video tutorial on Medium Grass [HERE]
Long Grass
Watch the video tutorial on Long Grass [HERE]
Long Grass + Long Seed Grass
Watch the video tutorial on Long Seed Grass [HERE]
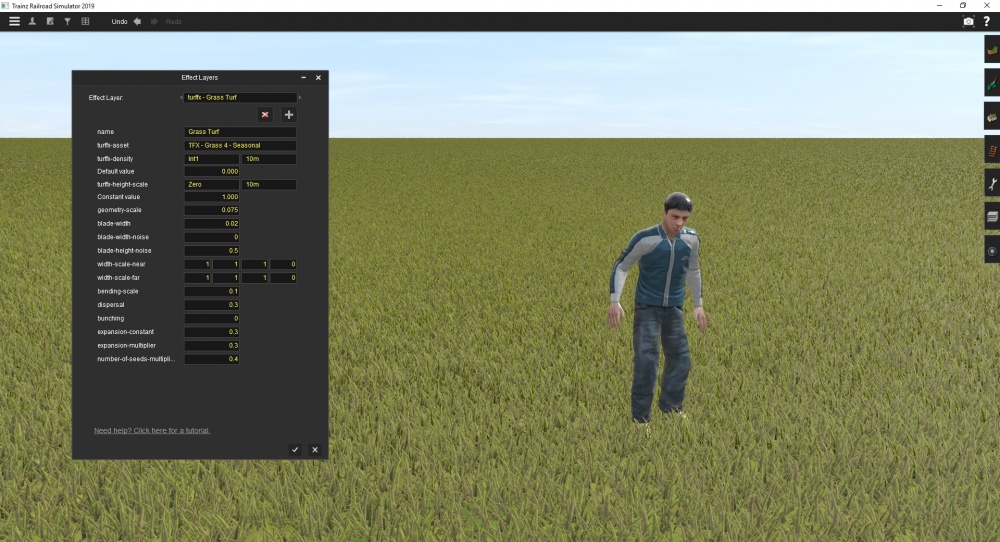
Turf
Cut Turf
Other
Surveyor Bulk Editing Tools
In future updates we plan on expanding the TurfFX tools to enable global updates such as adding a TurfFX layer to an existing ground texture. These tools, when introduced, will greatly speed up the conversion process from older routes.
Hardware Limitations
TurfFX is developed by NVIDIA and is designed to takes advantage of high-end GPU's with substantial amounts of VRAM.
1. TurfFX is currently supported only for Windows.
2. Whereas Trainz will typically run (albeit slowly, or at reduced settings) on below-spec computers, TurfFX will need to be disabled entirely if the GPU is insufficient. We expect the minimum of a GeForce GTX 750 to get reasonable performance.
3. With TurfFX disabled, the Effect Layers are ignored entirely, and there is no performance penalty for those objects that are disabled.
TurfFx Asset Creation
For detailed information on creating new grass types, crops, weeds etc, please visit Effect_Layer_Assets
See Also
Help:Effect_Layer_Dialog
Clutter_Effect_Layer
Back to Effect_Layer
Back to Help:TRS19
