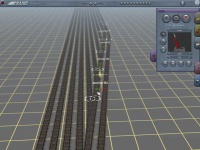
ProToolz Yard Ladder Template
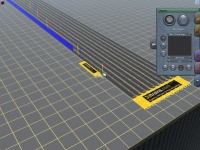
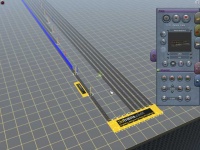
| Using the ProToolz Yard Ladder template, the following guide will assist in creating a perfectly straight ladder for your new yard. This is one of the most complicated procedures, but with a bit of patience, you can have a great-looking yard ladder in a few minutes. |
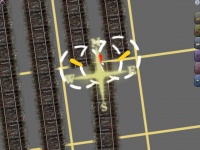
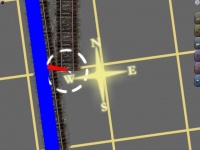
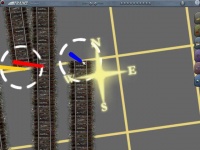
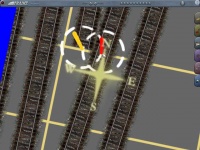
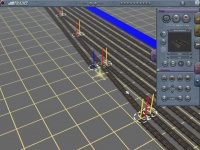
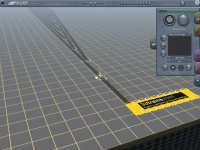
| 1) All tools are accessed by selecting 3DTrains in the Region window of the Objects tab, and ProToolz from the Object Type.
|
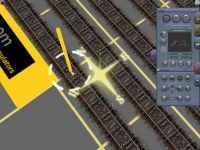
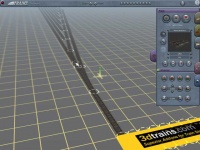
| 2) Once you have the template aligned to your satisfaction, begin by inserting spline points at all YELLOW post locations.
|
| 3) Delete the unnecessary track pieces from the yard. This will make it easier to view your progress. |
| 4) Create two new track pieces. One will be used as the yard ladder (the one on the left), and the other for the yard lead (the one on the right). |
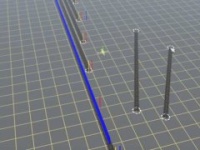
| 5) Move the End Spline Point of one of the new track pieces to the last RED post of the Yard Ladder template. |
| 6) Move the other End Spline Point of the track moved from the last step to the first RED post of the Yard Ladder template. |
| 7) Repeat Step 5 and Step 6 for the second track piece, aligning the End Spline Points with the first and last BLUE posts. |
| 8) Insert a Spline Point over each of the RED posts (except the ends). |
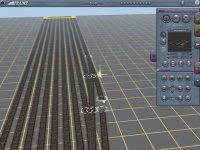
| 9) Using the Straighten Track tool from the Track Tab, click on ALL track pieces (between End Spline Points). |
| 10) You can delete the Yard Ladder template. Doing so will make it easier to view your progress. |
| 11) Beginning at the End Spline Points of the yard lead and yard ladder tracks near the mainline, connect these pieces to the mainline with new track pieces. |
| 12) Complete the connections for all tracks ending with the top-most portion of the yard ladder.
Note: For best results, all tracks should be connected FROM the yard tracks TO the yard ladder and yard lead. |
| 13) Add switch levers and signals to complete your new yard. |
| You're Done!
And there you have it. A dead-straight multi-track yard ladder, and the whole process took only a few minutes! |
