SAR Nantabibbie (Basic)
From TrainzOnline
(Difference between revisions)
m |
m |
||
| Line 29: | Line 29: | ||
</tr> | </tr> | ||
<tr valign="top"> | <tr valign="top"> | ||
| − | <td align="center" colspan=6><span style="font-size: 17px; font-weight: 700;">Switches</span></td> | + | <td align="center" colspan=6><span style="font-size: 17px; font-weight: 700; color: white; background-color: black;"> Switches </span></td> |
</tr> | </tr> | ||
<tr valign="top"> | <tr valign="top"> | ||
Revision as of 16:21, 29 March 2020
|
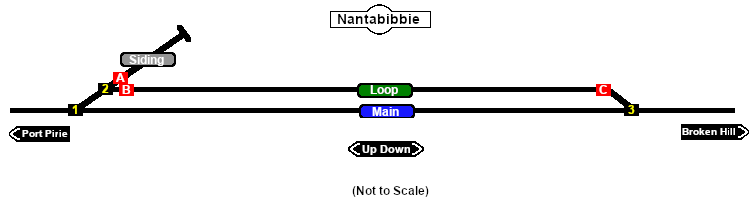
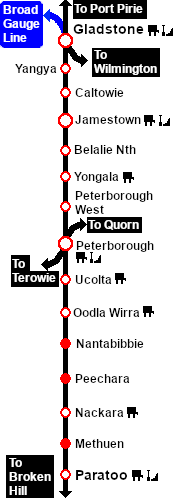
Main Line with a Passing Loop. Unmanned location on the Peterborough to Paratoo section of the Port Pirie to Broken Hill line. This location was bypassed when the line was converted to standard gauge in 1969.
|
 |
|||||||||||||||||||||||||||||||||||||||||||||||||||||||||||