How to Create a Message Popup Icon
m (→The Config.txt File) |
m (→How to Create a New Non-Environmental Texture Asset) |
||
| Line 154: | Line 154: | ||
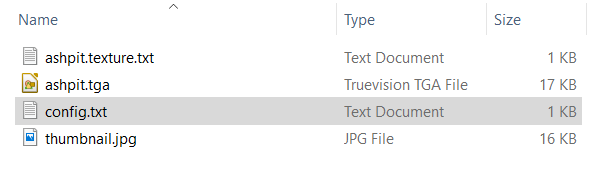
*a texture text file as described in the section [[file:PageLink.PNG|link=]] '''[[#The Texture File|The Texture File]]''' | *a texture text file as described in the section [[file:PageLink.PNG|link=]] '''[[#The Texture File|The Texture File]]''' | ||
<br> | <br> | ||
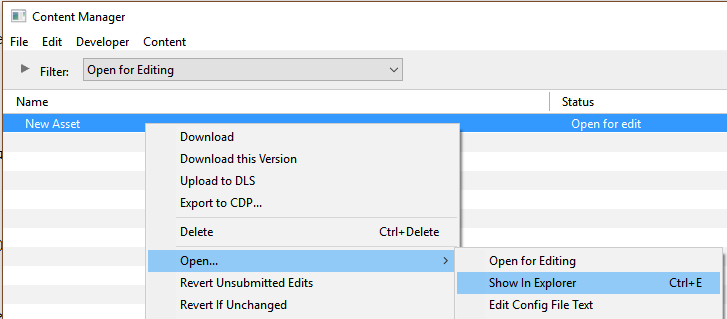
| − | These | + | These files do not have to be added immediately but must be present before the new asset can be used. You can reopen the asset for editing later to add the files before it is committed.</td> |
</tr> | </tr> | ||
<tr> | <tr> | ||
Revision as of 13:47, 22 February 2020
The information in this Wiki Page applies to TANE, TRS19 and Trainz Plus.
Contents |
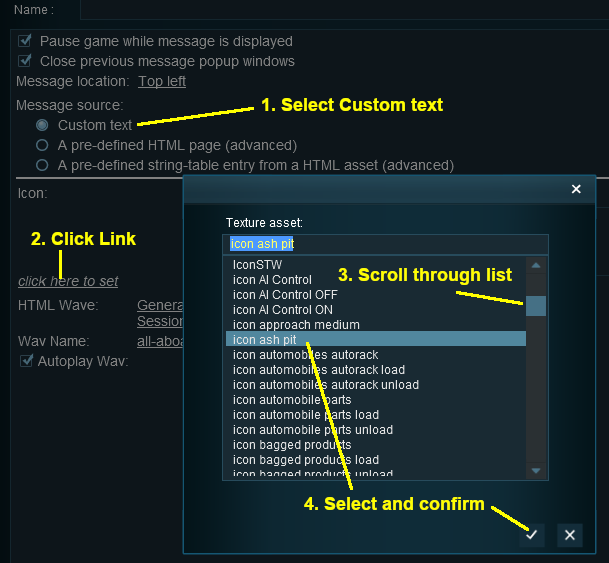
Message Popup Icons
| Message Popup Icons are small graphic icons that can be placed in browser message windows in Driver mode. The browser windows are created by the Message Popup Rule | ||
| Message Popup Icons are classified as Non-Environmental Textures |
 |
Information on creating and using Message Popups can be found on the Trainz Wiki pages at:- |
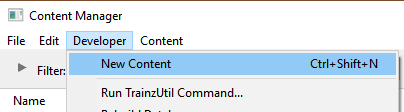
How to Create a New Non-Environmental Texture Asset
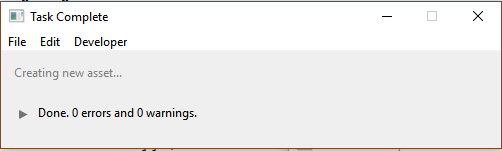
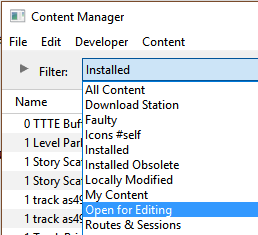
 Steps |
|
|||||||
|
|
||||||||
|
||||||||
|
|
||||||||
|
||||||||
|
|
||||||||
|
||||||||
|
|
||||||||
|
||||||||
|
|
||||||||
|
||||||||
|
|
||||||||
|
||||||||

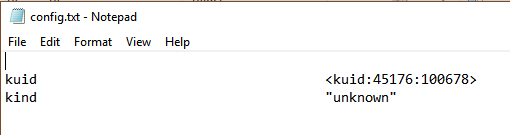
The Config.txt File
This file should follow the same (or a similar) format as the example below. Entries in blue may/will be different for each asset. The order of the "tags" is not important:-
kuid                                    <kuid: this is an auto-generated number >
kind                                    "texture"
texture                                 "icon_gradeXing.texture"
username                                "icon grade crossing ahead"
category-class                          "JI"
trainz-build                            4.3

thumbnails
{
  Default
  {
    width                               240
    height                              180
    image                               "icon_gradeXing.jpg"
  }
  01
  {
    width                               64
    height                              64
    image                               "icon_gradeXing.texture"
  }
}
description                             "Icon representing an approaching grade crossing. Designed for message popups. It will appear as a Texture Asset in the Message Popup Icon list."
|
|
|
| Settings: For the above example:
|
|
|
|
|
The Icon Image
| You will need image editing software to create the icon image or to change an existing image to the required dimensions and format. |
(not to scale) |
|
||||||
If your image will have a transparency, such as a transparent background, it is usually a lot easier to save the image in a format that supports an alpha channel (bmp, png or tga) and either
|
The Texture File
| The .texture.txt file controls how an image icon is displayed, particularly its Alpha Channel (or transparency) data. The file must be present even if no transparency is used in the icon. |
|
|
|
Settings:
|
|
|
|
|
A sample Texture File, "ashpit.texture.txt", is shown below:-
primary=ashpit.jpg alpha=ashpit.bmp tile=st |
|
||||||
| Notes: There are 3 general "scenarios" for the structure of the Texture File in a Texture Non Environmental asset.
Then:-
Then:-
Then:-
Image file formats supported by Trainz that have an alpha channel are:-
Image file formats supported by Trainz that DO NOT have an alpha channel are:-
|
|
A detailed description of the .texture file format can be found on the Trainz Wiki Page at:- |
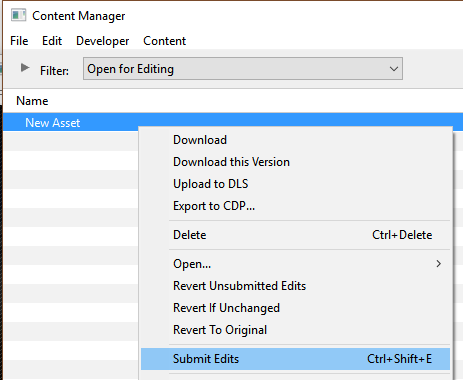
Using the Asset
Once the new asset has been committed it will be available for use in a Message Popup Rule. It will appear as a Texture Asset in the rule icon list.
 |
|
||||||
Trainz Wiki
 |
More Tutorials and Guides to Using Trainz |
This page was created by Trainz user pware in August 2018 and was last updated as shown below.