Help:Using the Main Menu
Contents |
Introduction
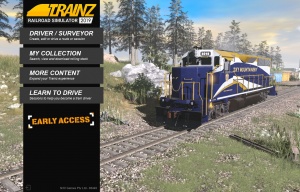
The TRS2019 Main Menu Screen is a new feature. It includes a 3D scene where users can place their favorite locomotive or consist.
Thumbnail Menu
The Thumbnail Menu provides access to your routes, and other installed content in Trainz. It is accessed through several different options on the Main Menu screen, which will open the Thumbnail Menu with different preset filters.
When in any of the menus, you can change the filters at the top to effectively access any other of the menus.
Driver/Surveyor
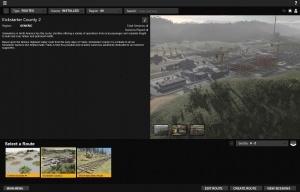
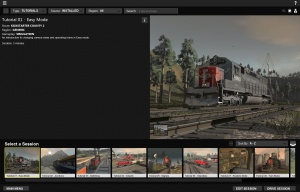
The Driver/Surveyor menu opens the Thumbnail Menu with all installed Routes shown. The listing filters default to Type = Routes and Source = Installed.
After selecting a Route, you can Edit the Route or View Sessions to view and select either pre-built Driver Sessions or the "Quickdrive" option.
My Collection
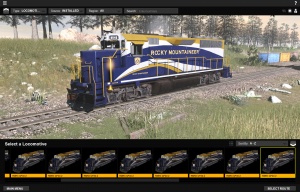
The My Collection menu opens the Thumbnail Menu with all installed locomotives listed. The listing filters default to Type = Locomotive and Source = Installed.
Here you can view your favourite locos and rolling stock, search for different locomotive and rolling stock items, change filter options, and add or remove "Favorites" by clicking on the Heart icon in the top right.
The item you last have selected will appear in the Main Menu scene when you return.
TIP: By filtering on Consists, you can add consists to the scene (up to a maximum length of a dozen cars).
TIP: For steam locomotives and tenders, to display both you will need to filter by consist, and then select a suitable consist to display. Some locomotives may not come with a consist, in this case you can create a consist using the following steps:
+ Click to show/hide Steps for Making a Consist
- Go to the Routes (Driver/Surveyor) menu
- Click on one of the Routes, then click on 'View Sessions'
- Click Create Session
- Open the Trains tab (F7)
- Select the locomotive you would like, then click on the track to place it
- Select the tender (or wagon) you would like, then click on the track behind the locomotive to place it
- Repeat for the rest of the consist you would like (up to around a dozen vehicles)
- Click on the 'Train Mode' (aka 'consists') button in the Trains tab
- Click on the 'Get consist' button
- Click on the train, then give the consist a name and click on the checkmark
- The consist will now be available for you to select.
+ Click to show/hide Steps for Making a Consist
More Content
The More Content menu allows you to download and purchase additional content for Trainz, both from the Download Station and from the Downloadable Content (DLC) packs from the Trainz Store.
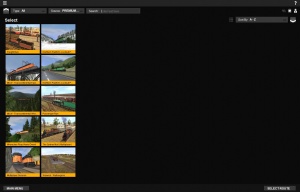
By default, this listing filters on Type = All and Source = Premium in "thumbnail view". You can use the filter options at the top of the page to filter for different types of items, such as content from the Download Station.
To download an item, simply select it then click on Download. The 'Asset Download' window will then appear for you to download the content (you can add multiple items to download if you wish to).
To purchase a DLC pack, simply select it then click on Purchase then follow the prompts. To download the DLC pack, select one of the parts of the DLC pack then click on 'Download'. The 'Asset Download' window will then appear for you to download the content (you can add multiple items to download if you wish to).
Learn to Drive
The Learn to Drive menu provides immediate access to the 10 Tutorial Sessions so that you can learn how to drive with Trainz!
Other Topics
![]() Go back to: TRS19 Help
Go back to: TRS19 Help
