Content Manager Tools
This page details a number of ways Content Manager provides functionality to execute custom and 3rd party tools.
Contents |
Ideology
Custom tools are intended to perform perform repeated automated tasks for things related to content management. For example, there may be a need or desire to perform repeated texture compression/decompression, file format conversion, automated custom backup procedures, etc. To this end, support for custom tools has been added to Content Manager and is accessible in two ways:
- As part of several existing processes
- As a manual command
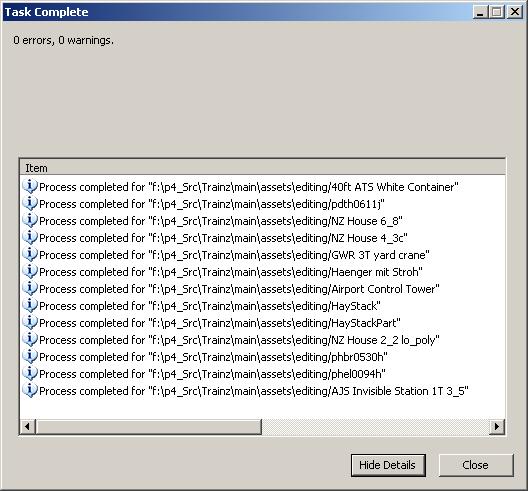
Each of these methods executes the tool in a similar way, piping stdout & stderr to a results log window similar to the one pictured. Custom tools should exit with a zero code on success or a non-zero code on error. Certain operations will be canceled if a tool produces errors.
Built in Tool Execution
Content Manager comes with a set of built in tools that are executed before or after certain operations. By default these tools do not do anything, and are provided to allow execution of tasks outside of the scope of Content Manager. These built in tools have predefined file names and are located in the "Bin\CMPData\Tools" directory of your Trainz installation (e.g. C:\Program Files\Auran\TS2009\Bin\CMPData\Tools). A brief description of each built-in tool is provided below.
After Open for Edit
After opening an asset for edit in Content Manager the 'afterOpenForEdit.bat' file will be executed. Content Manager will pass the resulting folder of the open for edit operation as parameter 1 on the command line. After opening an asset for edit is an ideal time to perform file conversion, formatting, and decompression tasks to ready the asset for easy editing.
Before Commit
Before committing an assets changes in Content Manager the 'beforeCommit.bat' file will be executed. Content Manager will pass the current asset folder to the tool as parameter 1 on the command line.
A common example of a pre-commit task would be the conversion of all .xml files in the asset directory to .im & .kin files using the Trainz Mesh Importer. An example of how this may be achieved is given below. This example uses a FOR loop to execute the mesh conversion tool for each xml file.
@echo off

FOR %%f IN (%1\*.xml) DO "C:\TrainzImporter\TrainzMeshImporter.exe" -k -infile "%%f"

EXIT 0
If the "before commit" tool produces any errors, the commit operation will be canceled.
Before Launch Trainz
Before launching Trainz, either from within Content Manager (via the File menu) or from the launcher, the 'beforeLaunchTrainz.bat' file will be run. Content Manager (or the Launcher) will pass the Trainz installation directory as parameter 1 on the command line.
If the "before launch trainz" tool produces any errors, the launch will be canceled.
Manual Tool Execution
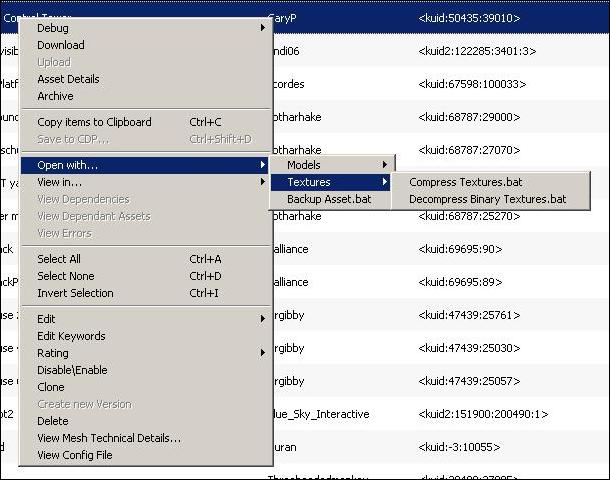
Manually launched tools may take the format of an executable or batch file and are located in the "Bin\CMPData\Tools\OpenWith" directory of your Trainz installation (e.g. C:\Program Files\Auran\TS2009\Bin\CMPData\Tools\OpenWith). These tools are added to Content Manager's context menu at run-time. To launch a tool simply right click on an asset in the main list view and select it from the "Open With..." menu. When launched the current asset will be opened for edit and the resulting folder passed to the tool as parameter 1 on the command line.
If you have a large number of custom tools organize them into sub-directories in the file system and Content Manager will automatically create child menus as shown below.
The example below shows a possible way of implementing a binary texture decompression tool.
@echo off

path=%path%;C:\Program Files\PEVSoft\Texture2TGA

Texture2TGA.exe -trawl %1

