HowTo/Render to Texture
Render to Texture
A Tutorial for the basic steps
In this tutorial I refer to 3dsMax. Render to texture has two main purposes. One is to create a normal map (bump map) and the other is to get a very natural texture which contains what I call diffuse shadows. Here in this tutorial I will describe the second method.
1.) Preparation
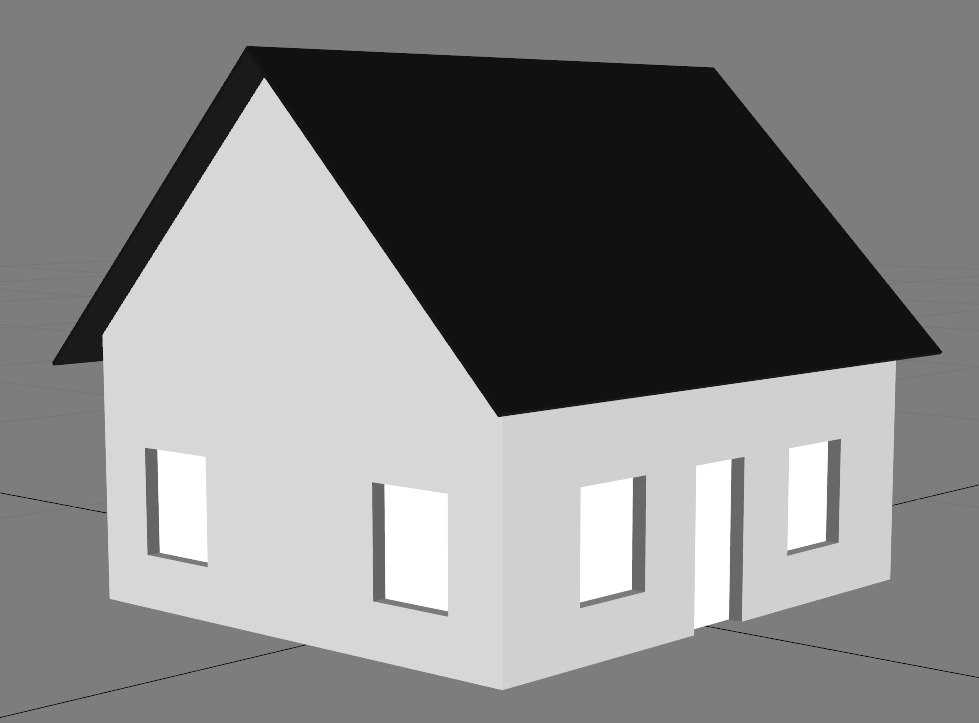
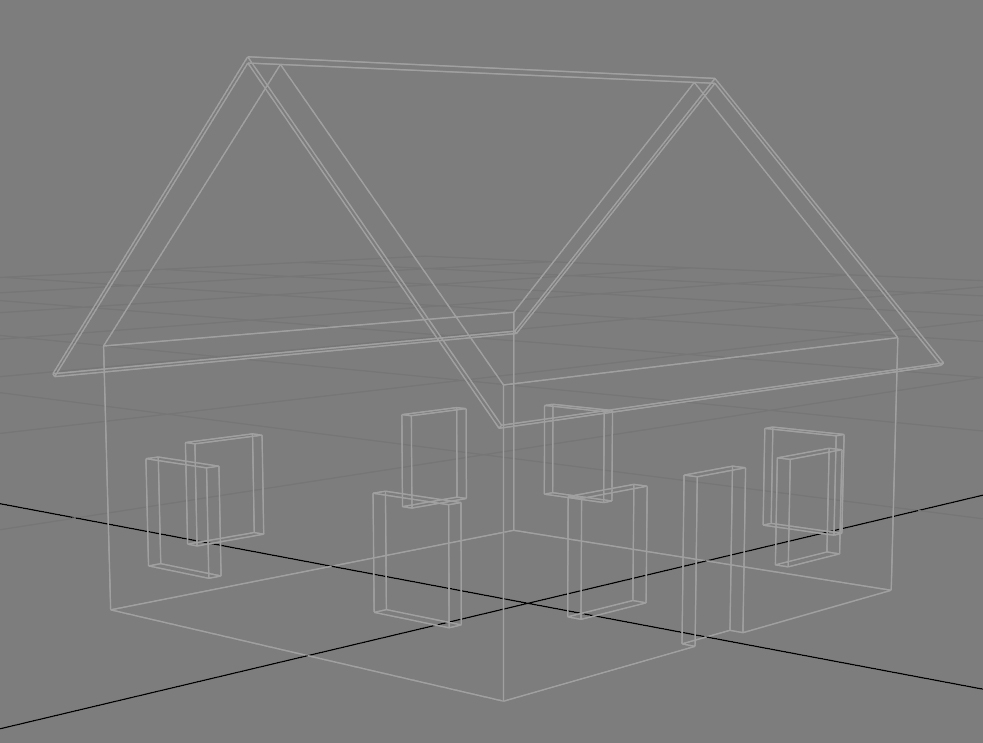
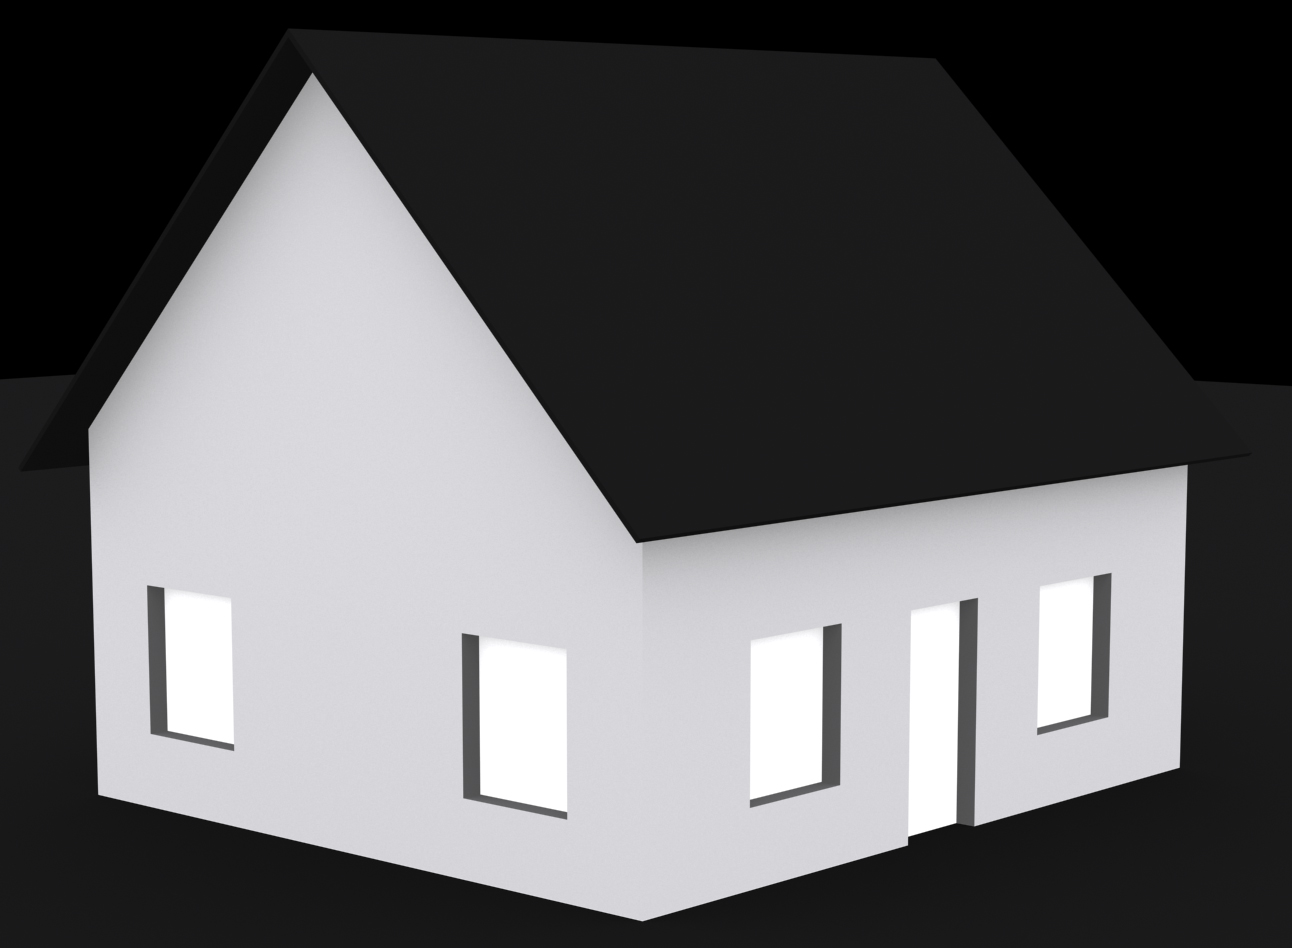
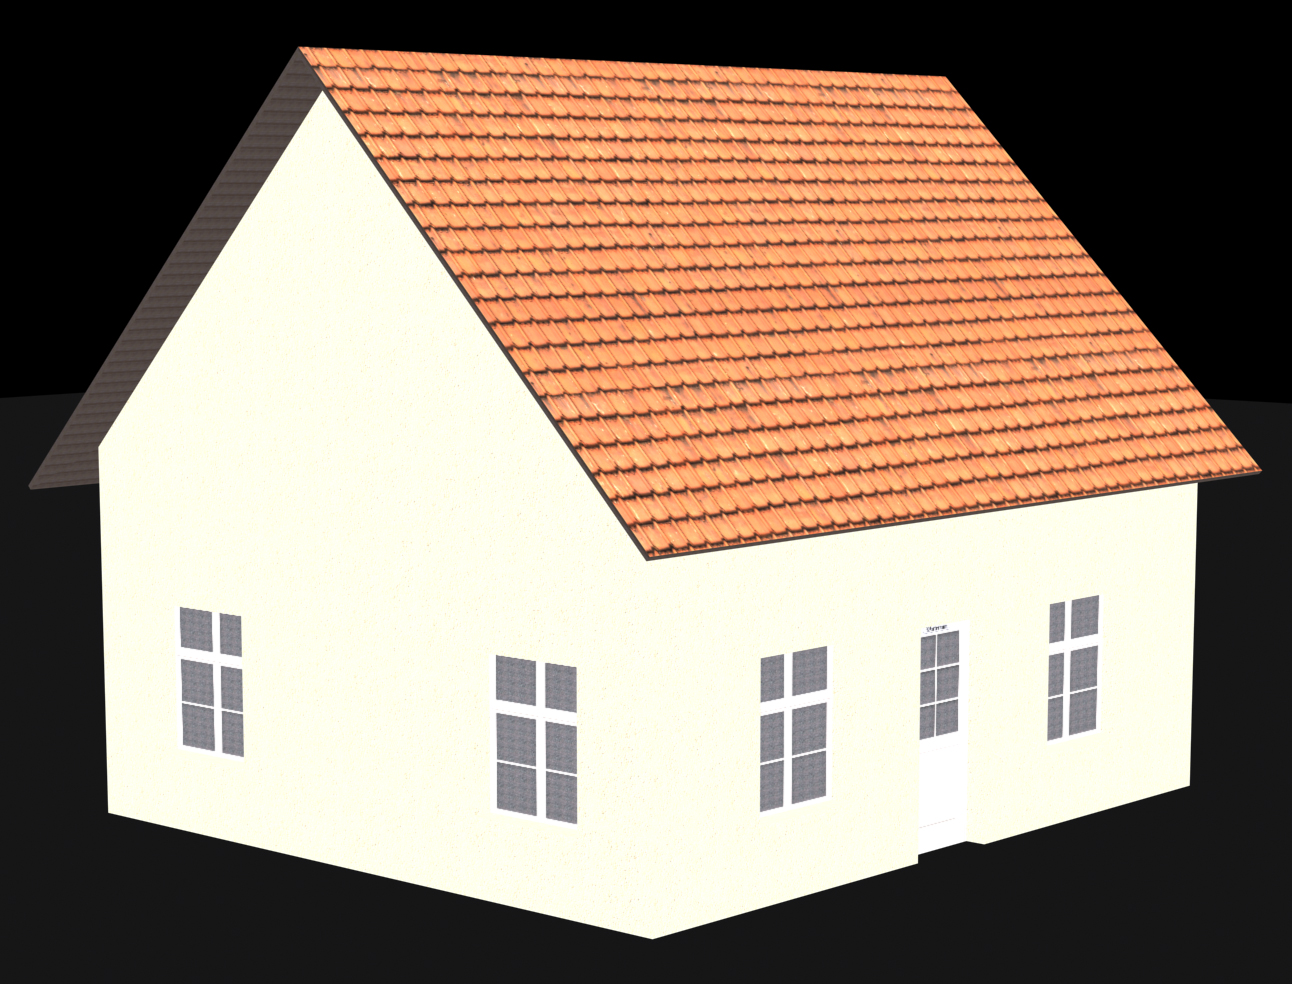
The mesh is a very, very simple house with overlapping roof and windows with meshed embrasure (Picture 1 and 2).
Picture 1
Picture 2
If our mesh is complete ready and I mean complete, that includes all texture mapping work, then we can start to prepare the render process.
To make it easier,in this two pictures I use only xxx.m.notex materials. But for a real object I recommend to use the largest textures you can get. And you do not have to care about the aspect ratio of those textures, as we will not export them, but the texture we get from the render process.
1.1) The Light
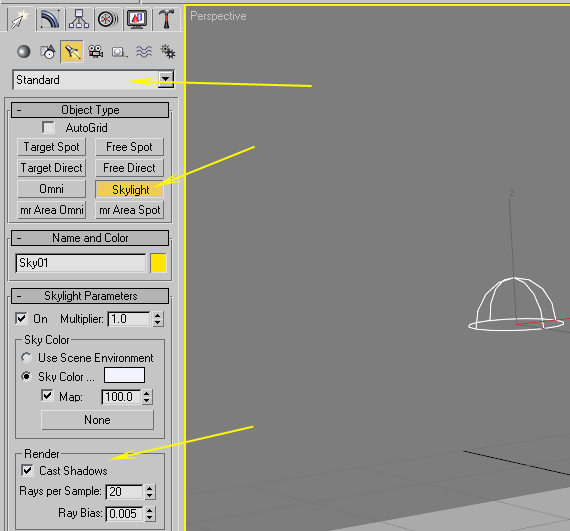
You have to create a so called skylight as seen on the picture above. A skylight is a light source which casts an extreme diffuse light from everywhere. The Cast Shadows option turn off first for testing purposes. Later we need to turn it on again.
You should also place the skylight at x=0, y=0 and z=20. It really doesn't matter, but so it is not in the way if you select objects.
If you leave Rays per Sample at 20 it is enough for final rendering, lower values gives more grain and works faster for testing.
Ray Bias sets the size which is recognized by the rays. So 0.005 means objects which are smaller do not cast shadows.
1.2) The Plane
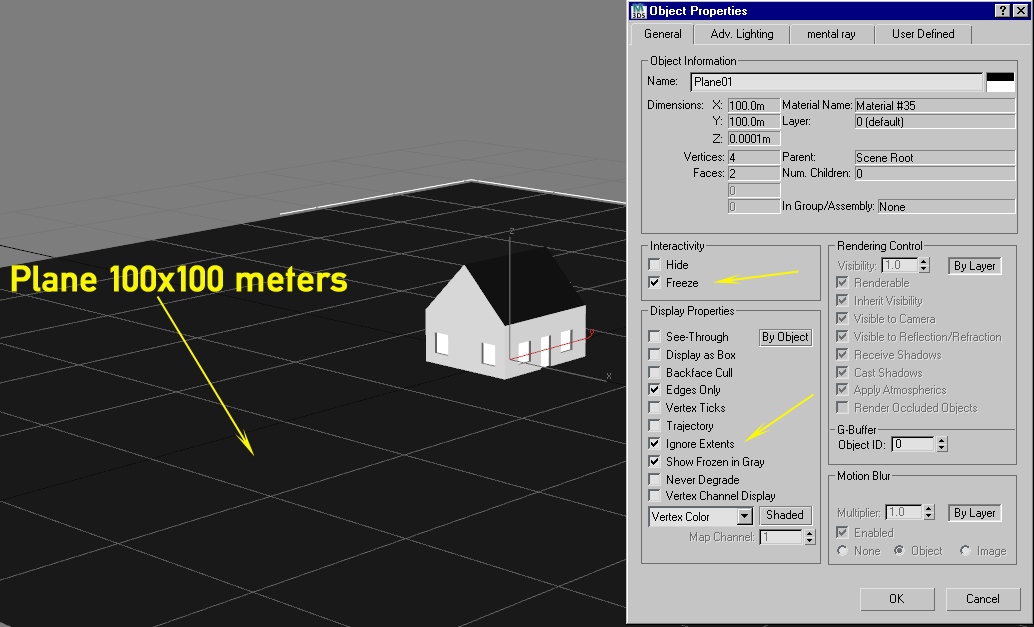
Next you have to create a quite huge plane to avoid the light from coming from below. Without this plane you will not get the desired diffuse shadows. In most cases 100x100 meters will fit. You also have to map the plane with a black, non-reflective material. It's also a good idea to freeze the plane and set Ignore Extents in its property menu.
1.3) The Renderer
For Render to Texture you should use the Default Scanline Renderer.
Skylight without shadows
Skylight with shadows
2.) Texturing
As mentioned before, use the largest textures you can get to map your object. You even can experiment with mental ray materials or others, play with the specular values to get a most realistic look for your object.
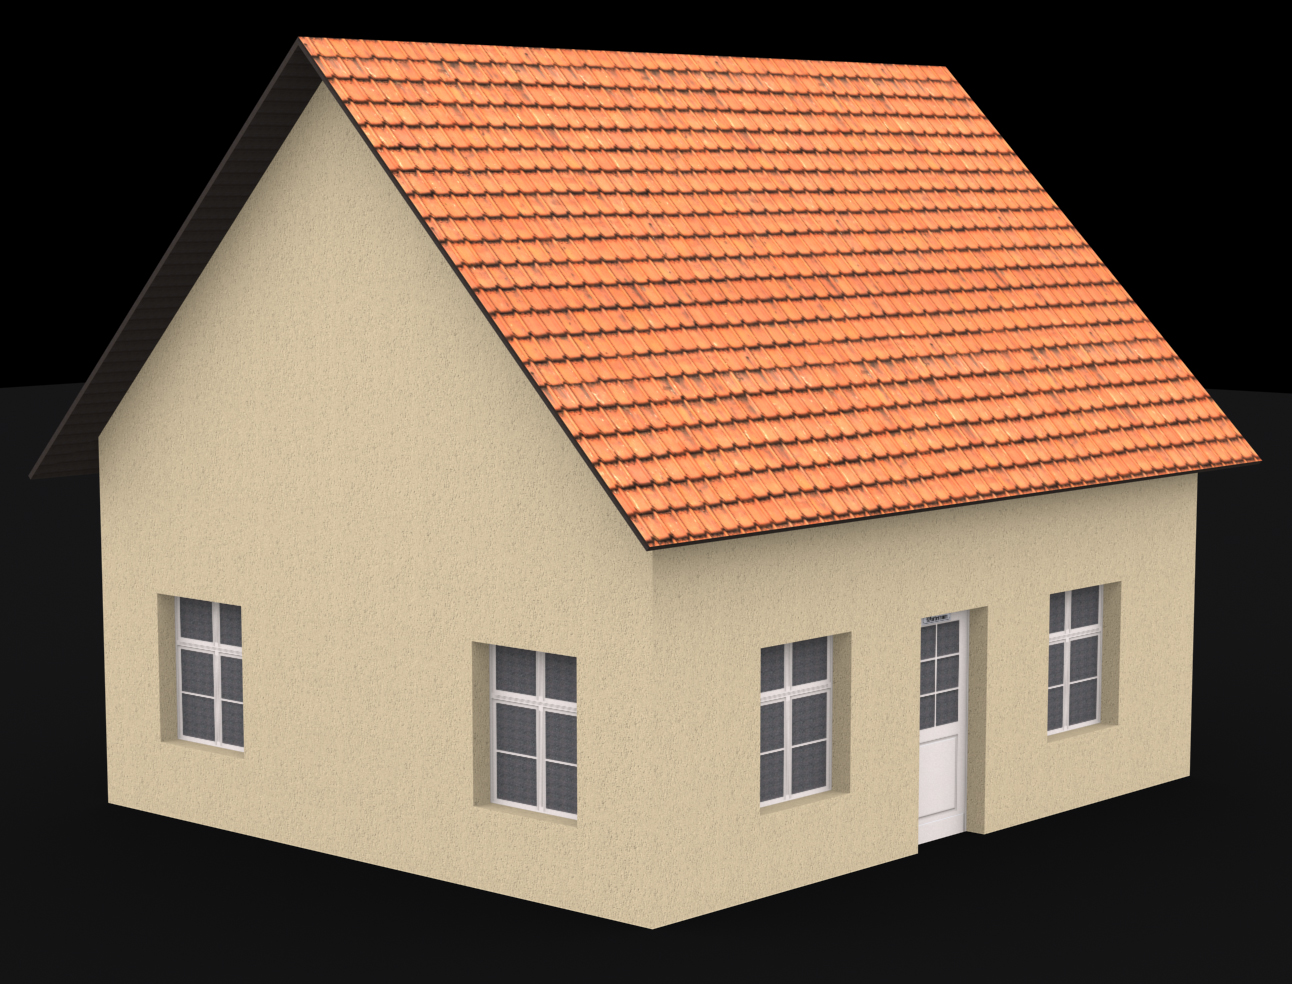
To get some reasonable results, I mapped our house with some textures. But don't be too picky, I did not use too much time for this. It's only a sloppy example...
Skylight without Shadows
Skylight with Shadows
So how we get this into Trainz? The secret spell is Render to Texture!
So let's do the work...
3.) Render to Texture
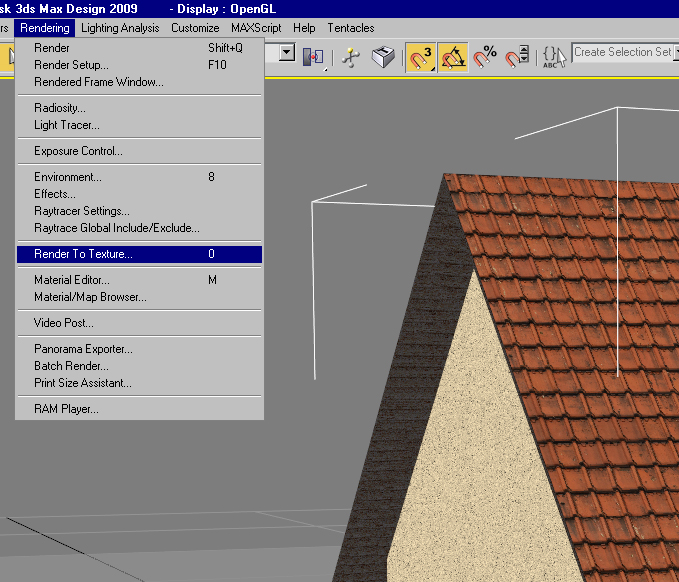
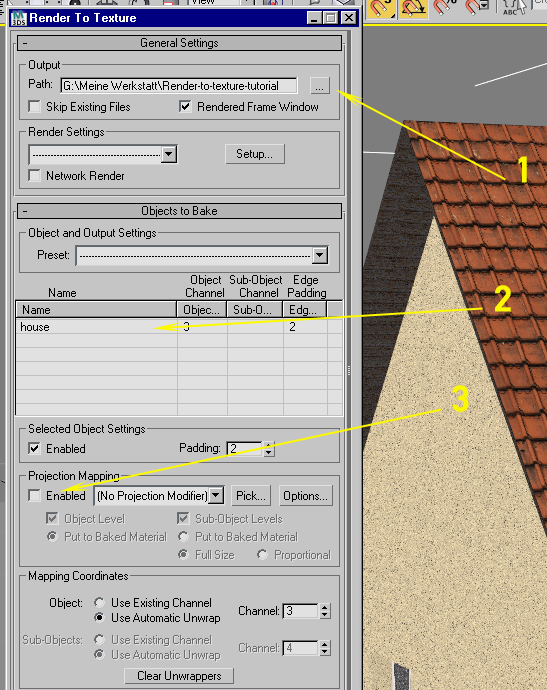
Now we select our house and press the key '0' or use in the menu Rendering the sub-menu Render to Texture.
1: Here you set the path where your texture file is stored.
2: Make sure that the name of the object you want to render appears here!
3: Make sure that this option is not selected. This will be used for create normal maps and projection rendering.
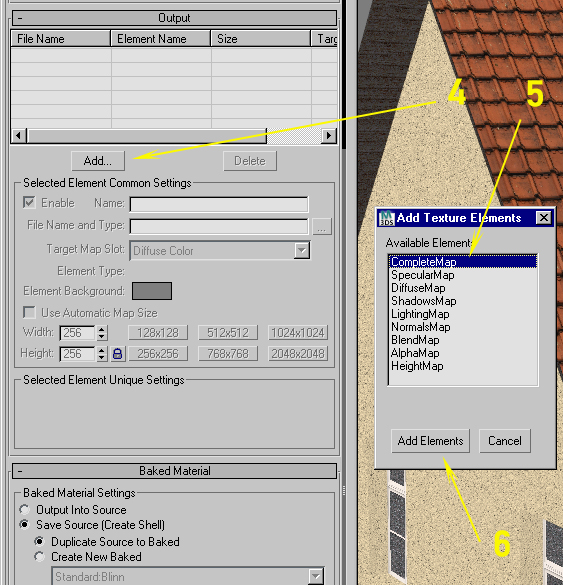
4: Click here to add a map type.
5:For our purpose choose CompleteMap.
6: Click here to add the map.
