Treez
m |
|||
| Line 2: | Line 2: | ||
| − | + | =Software Requirements= | |
| − | This is a step by step tutorial that will teach you how to create a 3D TREE model for use in Trainz. This method uses PlantFactory (free software) to create the 3D tree model but you could use Blender or any other 3D modelling software in | + | This is a step by step tutorial that will teach you how to create a 3D TREE model for use in Trainz. This method uses PlantFactory (free software) to create the 3D tree model but you could use Blender or any other 3D modelling software in its place. The principles are the same. |
Before you start you will need: | Before you start you will need: | ||
| − | * A copy of Trainz version 5.6. Currently this is in development so in order to test this new foliage system you must be part of the BETA - [https://forms.gle/cQTjZxixZeCT3DHS7 JOIN]. | + | * A copy of [["Trainz-build" number|Trainz version 5.6]] or newer. Currently this is in development so in order to test this new foliage system you must be part of the BETA - [https://forms.gle/cQTjZxixZeCT3DHS7 JOIN]. |
* A copy of [https://www.bentley.com/software/e-on-software-free-downloads/ PlantFactory 2024]. Click the Download button on that page, agree to the EULA and the next page the software should show for download. | * A copy of [https://www.bentley.com/software/e-on-software-free-downloads/ PlantFactory 2024]. Click the Download button on that page, agree to the EULA and the next page the software should show for download. | ||
| − | * You need a set of textures (Bark and Leaves at a minimum) for your trees. These can be created from scratch using the likes of [https://www.adobe.com/au/products/photoshop.html Photoshop] (paid) or [https://www.gimp.org GIMP] (free). You can look to source them from many different websites including [https://substance3d.adobe.com/assets/allassets?q=leaf%20fir%20branch&sort=-searchScore Adobe Substance Library] or other stock places. There are many other places you can purchase tree stock as a base or to get ideas to build from including [https://www.cgtrader.com/search?keywords=tree CGTrader] | + | * You need a set of textures (Bark and Leaves at a minimum) for your trees. These can be created from scratch using the likes of [https://www.adobe.com/au/products/photoshop.html Photoshop] (paid) or [https://www.gimp.org GIMP] (free). You can look to source them from many different websites including [https://substance3d.adobe.com/assets/allassets?q=leaf%20fir%20branch&sort=-searchScore Adobe Substance Library] or other stock places. There are many other places you can purchase tree stock as a base or to get ideas to build from including [https://www.cgtrader.com/search?keywords=tree CGTrader] and [https://www.turbosquid.com/Search/Index.cfm?keyword=tree&media_typeid=2 TurboSquid]. |
| − | + | =PlantFactory Examples= | |
| − | + | ||
| − | + | ||
A good place to start is with one of our PlantFactory templates. This can speed up your development a lot, especially if you are new to PlantFactory. | A good place to start is with one of our PlantFactory templates. This can speed up your development a lot, especially if you are new to PlantFactory. | ||
| Line 26: | Line 24: | ||
| − | + | =Tree Asset Creation Overview= | |
| − | + | Trees are created as standard [[KIND Scenery|scenery]] assets. | |
| − | They use the | + | They use the [[FBX file format]] for their mesh files. |
| − | .PNG or .TGA is recommended for textures. | + | .PNG or .TGA is recommended for the [[Texture file|textures]]. |
| − | + | Trees may use standard materials, but benefit heavily from the new foliage-specific materials are outlined below. | |
The texture setup is outlined below. | The texture setup is outlined below. | ||
| − | You should try and keep the highest LOD under 5000 polygons. Each additional LOD level should drop down by 25%. Your lowest LOD should be under 1000 polygons, ideally under 500 polygons. There is no need to create billboards as Trainz will create this for you using a new | + | You should try and keep the highest LOD under 5000 polygons. Each additional LOD level should drop down by at least 25%. Your lowest LOD should be under 1000 polygons, ideally under 500 polygons. There is no need to create bottom-LOD billboards as Trainz will create this for you using a new [[Imposter system]] that will release alongside [[Treez]]. |
| − | If using PlantFactory you will want to get the example files above and look at the metadata | + | If using PlantFactory you will want to get the example files above and look at the [[Mesh metadata file]]s to determine what additional tags are being used. You will also want to watch the PlantFactory video information below to understand how to use the program and also how to export from PlantFactory, setup your Trainz Asset and import into Trainz. |
| − | If you are using another 3D modelling program to create your trees | + | If you are using another 3D modelling program to create your trees and want to use [[m.leafcardbillboard|camera facing leaf cards]] then you must point your leaf card geometry in the positive X direction. Each leaf card must be a separate mesh within the FBX so they can rotate separately. |
| Line 48: | Line 46: | ||
| − | + | =Materials= | |
| − | + | ||
| − | + | ||
| − | + | ||
| − | + | ||
| − | + | ||
| − | + | ||
| − | + | ||
There are two new materials to use for trees. | There are two new materials to use for trees. | ||
| Line 64: | Line 55: | ||
| − | + | =Textures= | |
| − | + | ||
| − | + | ||
| − | The makeup of [[m.leafcardbillboard]] is | + | The makeup of both [[m.leafcard]] and [[m.leafcardbillboard]] is similar to [[m.pbrmetalmasked]]. |
| − | The exception | + | The one exception is that the blue channel in the parameters texture is used to modulate the strength of the directional lighting. This is intended to give the feel of individual leaves being deeper inside the tree and shadowed from all directions, even though the leaf card as a whole is not shadowed. (Note that this is the same channel used for Ambient Occlusion on m.pbrmetal; the leaf card materials do not support ambient occlusion.) |
Full brightness (100% blue channel) gives a standard lighting response, while darker values give a weaker response to directional lighting. | Full brightness (100% blue channel) gives a standard lighting response, while darker values give a weaker response to directional lighting. | ||
| Line 79: | Line 68: | ||
| − | + | =PlantFactory Tutorial= | |
Once the software starts up and you've either loaded one of the templates above or you've started a new tree from scratch, if you are new to PlantFactory, you will want to read the "PlantFactory — Reference Manual" (specifically 'Section 5 - Modifying Plants: Using Parameters') which can be accessed by clicking on the Main Menu -> Help -> Reference Manual. This manual explains everything you need to know about the software. It is definitely worth the read. | Once the software starts up and you've either loaded one of the templates above or you've started a new tree from scratch, if you are new to PlantFactory, you will want to read the "PlantFactory — Reference Manual" (specifically 'Section 5 - Modifying Plants: Using Parameters') which can be accessed by clicking on the Main Menu -> Help -> Reference Manual. This manual explains everything you need to know about the software. It is definitely worth the read. | ||
Revision as of 14:36, 10 June 2024
Contents |
Software Requirements
This is a step by step tutorial that will teach you how to create a 3D TREE model for use in Trainz. This method uses PlantFactory (free software) to create the 3D tree model but you could use Blender or any other 3D modelling software in its place. The principles are the same.
Before you start you will need:
- A copy of Trainz version 5.6 or newer. Currently this is in development so in order to test this new foliage system you must be part of the BETA - JOIN.
- A copy of PlantFactory 2024. Click the Download button on that page, agree to the EULA and the next page the software should show for download.
- You need a set of textures (Bark and Leaves at a minimum) for your trees. These can be created from scratch using the likes of Photoshop (paid) or GIMP (free). You can look to source them from many different websites including Adobe Substance Library or other stock places. There are many other places you can purchase tree stock as a base or to get ideas to build from including CGTrader and TurboSquid.
PlantFactory Examples
A good place to start is with one of our PlantFactory templates. This can speed up your development a lot, especially if you are new to PlantFactory.
Download Youtube Video 1 Example Files
Download Youtube Video 2 Example Files
Tree Asset Creation Overview
Trees are created as standard scenery assets.
They use the FBX file format for their mesh files.
.PNG or .TGA is recommended for the textures.
Trees may use standard materials, but benefit heavily from the new foliage-specific materials are outlined below.
The texture setup is outlined below.
You should try and keep the highest LOD under 5000 polygons. Each additional LOD level should drop down by at least 25%. Your lowest LOD should be under 1000 polygons, ideally under 500 polygons. There is no need to create bottom-LOD billboards as Trainz will create this for you using a new Imposter system that will release alongside Treez.
If using PlantFactory you will want to get the example files above and look at the Mesh metadata files to determine what additional tags are being used. You will also want to watch the PlantFactory video information below to understand how to use the program and also how to export from PlantFactory, setup your Trainz Asset and import into Trainz.
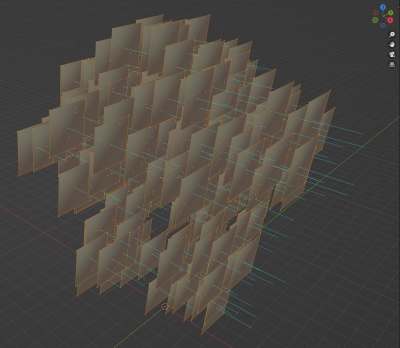
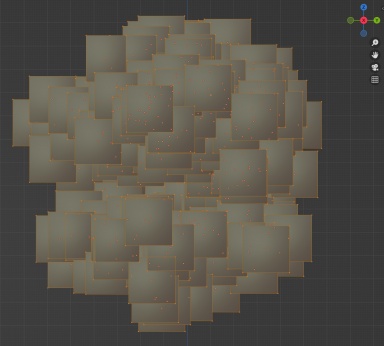
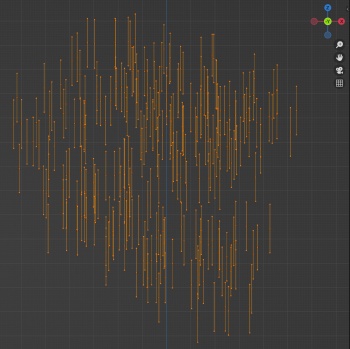
If you are using another 3D modelling program to create your trees and want to use camera facing leaf cards then you must point your leaf card geometry in the positive X direction. Each leaf card must be a separate mesh within the FBX so they can rotate separately.
Materials
There are two new materials to use for trees.
m.leafcard - Use this material for your transparent leaf cards that are not camera facing. This material structure is identical to m.pbrmetal. The only difference in setup is the name of your material.
m.leafcardbillboard - Use this material for your transparent leaf cards that are to be camera facing. This material structure is identical to m.pbrmetalmasked. The only difference in setup is the name of your material.
Textures
The makeup of both m.leafcard and m.leafcardbillboard is similar to m.pbrmetalmasked.
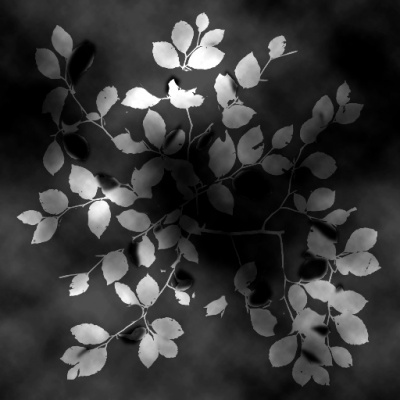
The one exception is that the blue channel in the parameters texture is used to modulate the strength of the directional lighting. This is intended to give the feel of individual leaves being deeper inside the tree and shadowed from all directions, even though the leaf card as a whole is not shadowed. (Note that this is the same channel used for Ambient Occlusion on m.pbrmetal; the leaf card materials do not support ambient occlusion.)
Full brightness (100% blue channel) gives a standard lighting response, while darker values give a weaker response to directional lighting.
Here is an example of what the blue (AO) channel could look like in the parameters texture for both m.leafcard and m.leafcardbillboard.
PlantFactory Tutorial
Once the software starts up and you've either loaded one of the templates above or you've started a new tree from scratch, if you are new to PlantFactory, you will want to read the "PlantFactory — Reference Manual" (specifically 'Section 5 - Modifying Plants: Using Parameters') which can be accessed by clicking on the Main Menu -> Help -> Reference Manual. This manual explains everything you need to know about the software. It is definitely worth the read.
For those that want to come back to the manual later, here is a video breakdown on a very raw PlantFactory / Trainz explanation you can get started with.
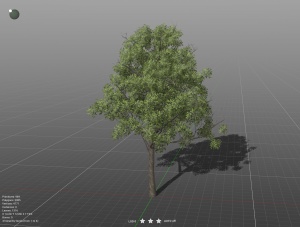
Work-in-Progress Test Trees
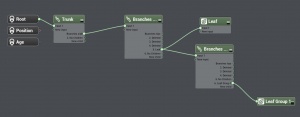
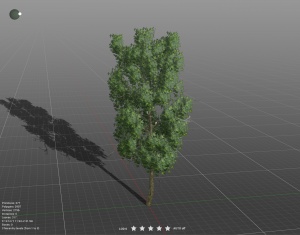
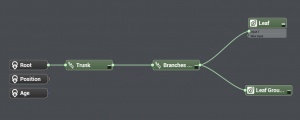
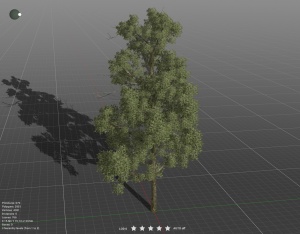
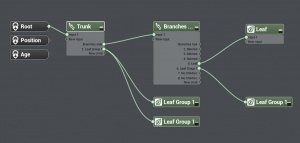
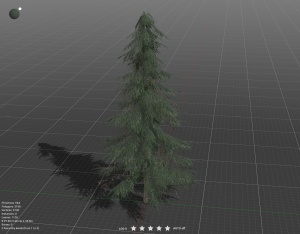
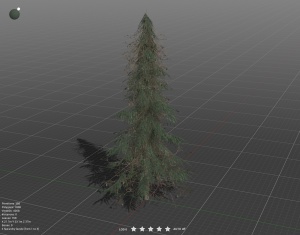
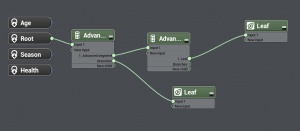
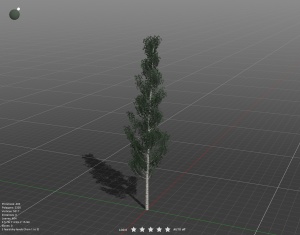
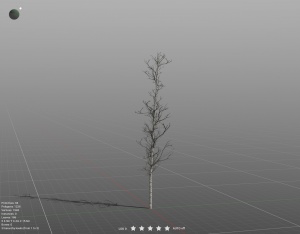
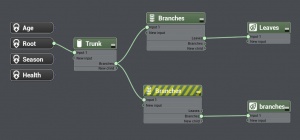
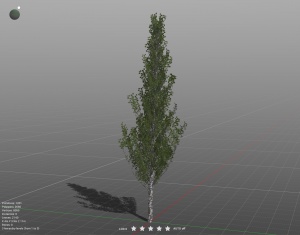
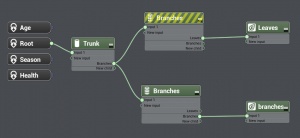
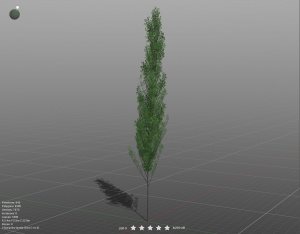
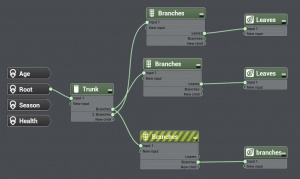
There isn't one way to create trees in PlantFactory but these trees were created using the procedural node method.
